
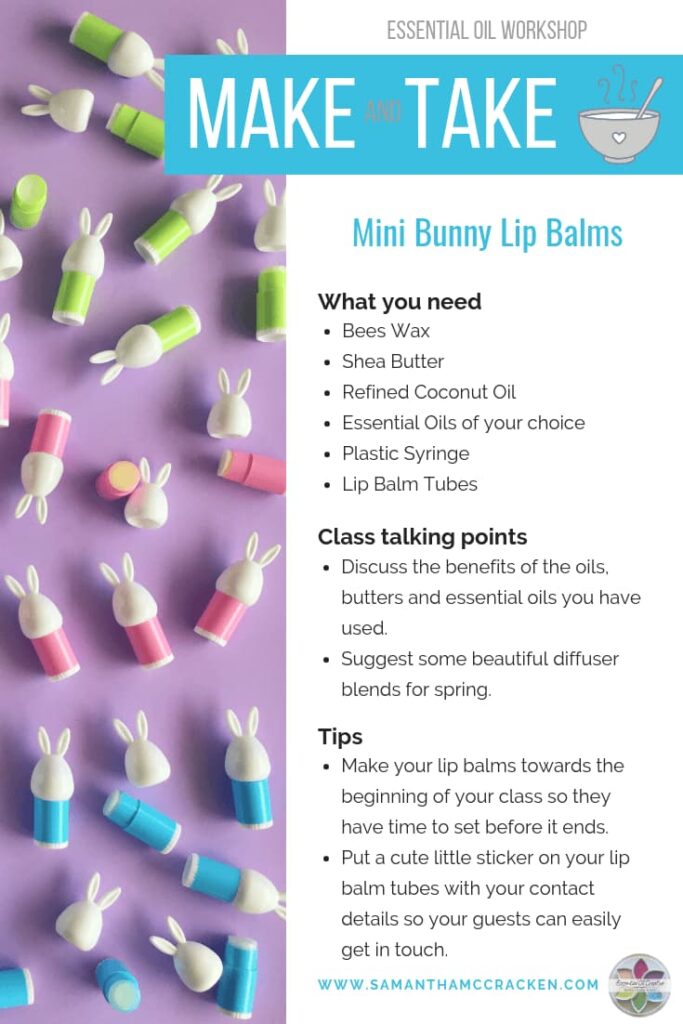
Spring has sprung and Easter is approaching so it’s time to share this super easy (and super cute!) essential oil DIY (plus it makes a great Make & Take Party idea!)
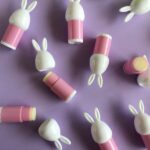
It’s Mini Bunny Lip Balms !
… and gosh, darn these 3g empty lip balm tubes are the cutest thing I’ve bought from my favorite online store all year! (PS there’s no affiliate links here. I saw ’em, loved ’em, and just HAD to share ’em!)

I’ve taken three beautiful lip balm recipes freely available online and I’m going to show you how to adjust them to fill three of these bunny lip balm tubes. From there you can scale the recipe to fill any amount that you like!
Here are some suggestions:
- Fill 3 for personal use
- Fill 12 for Easter gifts for friends and family
- Fill 48 for an awesome Spring Essential Oil Make & Take Party!
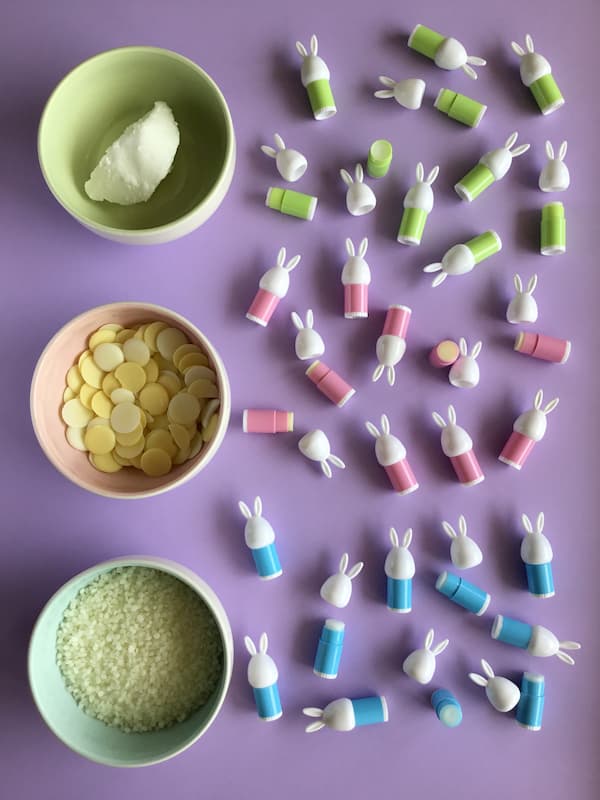
Now these lip balm tubes are only 3g, which is smaller than your standard 5g tube.
This is a great idea because as much as I love making my own lip balm (to ensure it’s full of only the best ingredients!), the reality is it won’t have the same shelf-life as store-bought products (in my opinion, this is a small price to pay for the benefit of avoiding those extra preservatives).
Additional Equipment Recommended
For ease of use when working with such small quantities as these I do recommend you have the right tools:
You will need a very small glass or ceramic bowl (a pinch bowl for example). Melting your ingredients in as small a bowl as possible will prevent rapid cooling and reduce the amount that gets wasted by sticking to the surface are of the bowl.
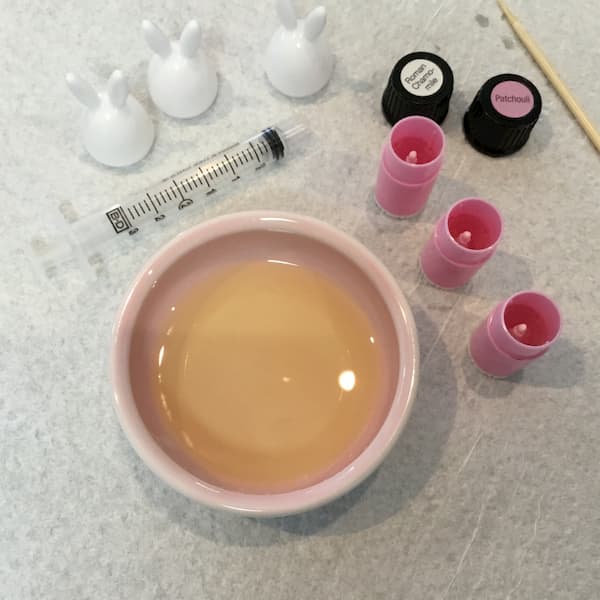
Invest in a plastic syringe, one for each scent you make. 2-3ml Plastic syringes are readily available from your local pharmacy or drug store. They are by far the easiest way to fill your lip balm tubes (I wouldn’t even know where to begin without them). I recommend one for each different scent you choose to make so there is no danger of cross contamination of scents. There’s no need to throw them out though, clean them up as best you can and use them the next time you make that same scent.
Your lip balm recipe will need a thorough stirring to fully incorporate the essential oils. Try toothpicks or a bamboo skewer to do this. You can toss them in the compost when you are done.
Choose Your Scent!
As these lip balm tubes come in three different colors, I’ve chosen three different scents to share. Plus here are some other great suggestions:
- Lavender, Frankincense & Litsea (May Chang)
- Lemon Myrtle
- Clary Sage & Myrrh
- Myrrh & Star Anise (for liquorice lovers!)
- Vetiver & Lavender
- Lavender & Lemon Balm (Melissa)
Let’s Get Started!
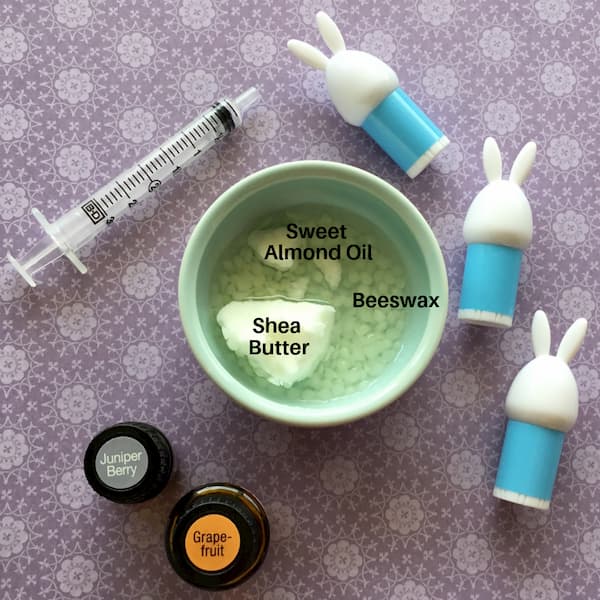
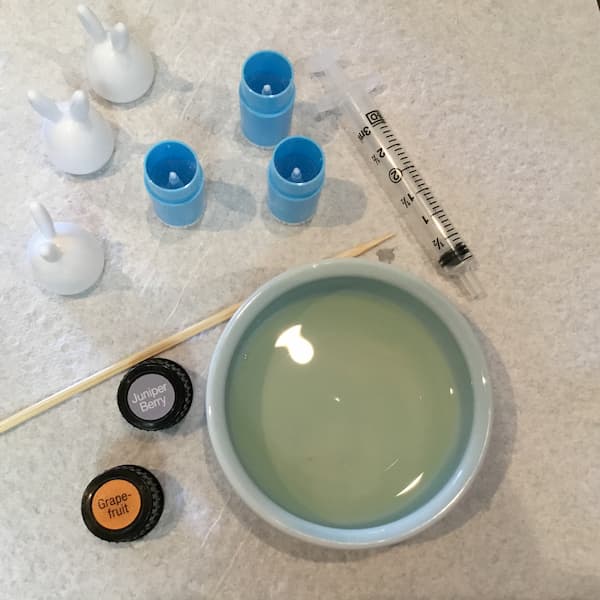
Grapefruit and Juniper Berry Essential Oil Lip Balm
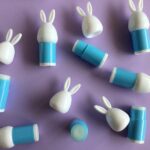
First up I’ve chosen to fill my blue lip balm tubes with this recipe from the Inspired Little Pot.
If you love DIY, then you must check out Krissy’s website to “be inspired by simple recipes for DIY body care and cleaning, and easy access to pure and natural raw ingredients.”
This recipe yields a large amount of lip balm so I recommend using 1/10 of the original recipe to fill 3 bunny lip balm tubes. The full recipe would yield 30 – 40 lip balms.
Scaled down, the recipe looks something like this:
- 5g Shea Butter
- 3g Beeswax
- 5g Carrier Oil (I used Sweet Almond Oil)
- 3 drops Essential Oil (I’ll be honest, I used four – 2 x Grapefruit & 2 x Juniper Berry)
- 3 Lip Balm Tubes (3g)
Patchouli & Roman Chamomile Essential Oil Lip Balm
This is a beautiful and calming essential oil combination and I’ve chosen to use it with this lip balm recipe from doTERRA to fill my pink lip balm tubes.
You need around 1/7 of this recipe to fill 3 lip balm tubes, and I found this was easier to do if I converted the weights into grams. The total recipe should yield 20 – 25 lip balms.
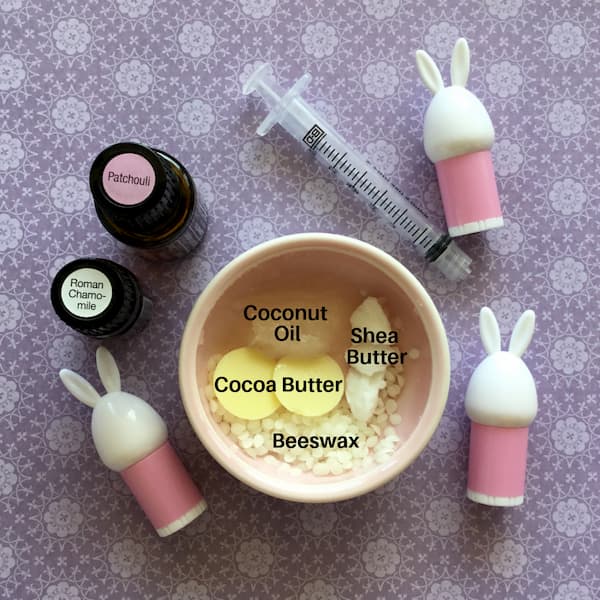
Scaled down, the recipe looks something like this:
- 2g Shea Butter
- 2g Cocoa Butter
- 4g Beeswax
- 4g Coconut Oil
- 3 drops Essential Oil (I’ll be honest, I used five – 2 x Patchouli & 3 x Roman Chamomile)
- 3 Lip Balm Tubes (3g)
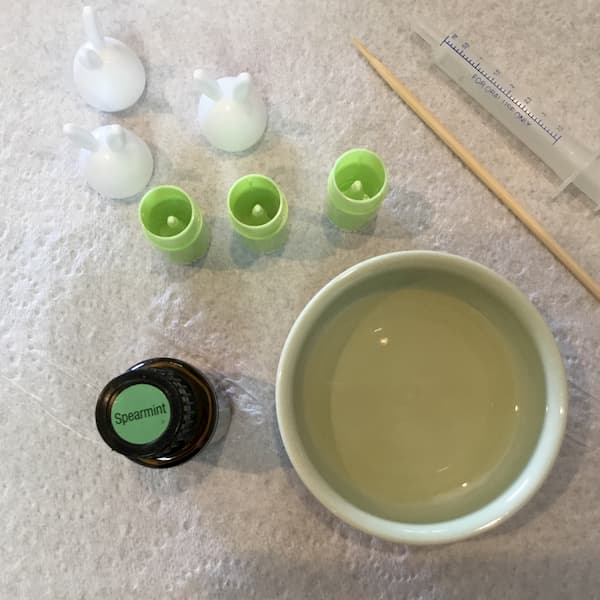
Spearmint Essential Oil Lip Balm
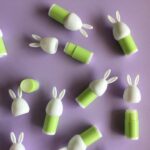
Finally, I filled my green lip balm tubes with this recipe from Plant Therapy and scented them with Spearmint essential oil (yum!).
This recipe required no scaling, but I did manage to fill four tubes instead of three.
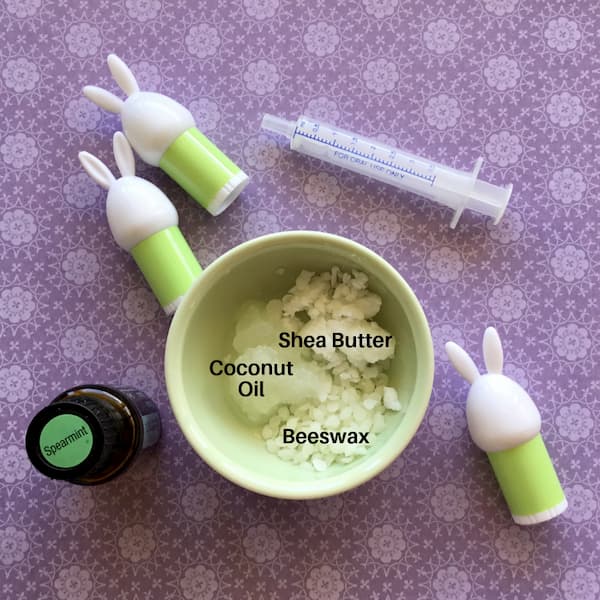
Here’s the full recipe:
- 1tsp Beeswax
- 1tsp Shea Butter
- 1tsp Coconut Oil
- 3 drops essential oil (yep, I used three too)
- 3 lip balm tubes (3g)
Instructions
Additional Items Required
- Very small glass or ceramic bowl (pinch bowl)
- 2 – 3ml plastic syringe
- Toothpick or Bamboo Skewer (for stirring)
Method
Prepare your work space by laying down a paper towel to catch any drips. Remove the lids from your lip balm tubes and ensure the interior mechanism is wound all the way down to the bottom. Line up your lip balm tubes on the paper towel ready for filling. Ensure you have your plastic syringe and toothpick/bamboo skewer ready and waiting also.
Add all the ingredients except for the essential oils to your bowl. Melt the ingredients in the microwave using short 20 second bursts. Once melted, add your essential oils and stir well. Use your plastic syringe to fill each lip balm tube right up to the rim. Set your lip balms aside to cool and harden.
Cleaning Up
As soon as you have finished filling your tubes, wipe the remainder of the mixture out of your bowl with a paper towel. Do not pour any excess down the sink or put a bowl covered in a large amount of residue in the dishwasher as it may clog your pipes. Once you have wiped your bowl clean, bin the paper towels and put the bowl in the dishwasher for a final clean.
A quiet corner of the garden is also a good idea if you have a large amount left-over.
Troubleshooting
Here are some clarifications and suggestions if you run into trouble.
Umm which coconut oil do I use?
The coconut oil used in these recipes is the solid kind, not the fractionated kind. However you can use Fractionated Coconut Oil as your chosen ‘Carrier Oil’ in the first recipe. I suggest you choose a refined coconut oil as opposed to a virgin coconut oil as refined coconut oil has a much milder scent.
How do I measure in grams?
Most kitchen scales these days are interchangeable between grams and ounces. Check your scale’s instruction booklet for how to change you scale to measure in grams and then change it back when finished.
How do I stop my lip balm solidifying before I’ve filled my tubes?
Some may consider this the nightmare scenario but it’s actually quite easy to fix. Firstly, make sure your lip balm mixture is well and truly melted. I know it’s tempting to get filling as soon as you see that last bit of beeswax disappear but remember, just melted = just about to set, so don’t be afraid to put that bowl back in the microwave for another 20sec burst to give yourself plenty of working time.
If your lip balm mixture is setting too quickly, you can put what’s left in the bowl back in the microwave to re-melt it (NB do not put lip balm tubes in the microwave).
If your lip balm sets into a funny shape while you’re filling the tube, use a long-stem butane lighter to reheat the surface of the lip balm so it melts into a nice even shape.
Turn it into a Make & Take
Why not use this recipe to do an essential oil make & take workshop? It’s a great opportunity to share the benefits of essential oils as well as to demonstrate fun ways for people to use them.
You can buy a bag of 50 lip balm tubes (random color) like I did, which leaves you plenty for a class (plus any left-overs you can make into gifts for family and friends).
(PS there’s no affiliate links here. I saw ’em, loved ’em, and just HAD to share ’em!)
Class talking points include the benefits of the essential oils you choose to use, as well as how shea butter and coconut oil can benefit the skin and lips.
While it’s the perfect theme for a spring or Easter-themed workshop, it’s also a super cute idea for any time of the year (think Christmas gifts!).
Make your lip balms towards the beginning of your class to allow them time to set and here’s an extra hint: put a sticker with your contact details on the lip balm tube so your class attendees can easily get in touch with you again if they wish.
Enjoy!