
What are Shower Melts?
I really love shower melts.
They are such a clever way to diffuse your favourite essential oils as you take a shower.
Shower melts are little cakes of bi-carbonate of soda, citric acid, corn starch and essential oils that fizz and melt as they get wet, diffusing the oils throughout your shower enclosure as they do so.
They are a must-have accessory for your essential oils and the best part about them is that you can make them yourself!
This post contains affiliate links. If you buy something through one of those links, I will receive a small commission at no extra cost to you. As an Amazon Associate I earn from qualifying purchases.
Thank you for supporting my site!
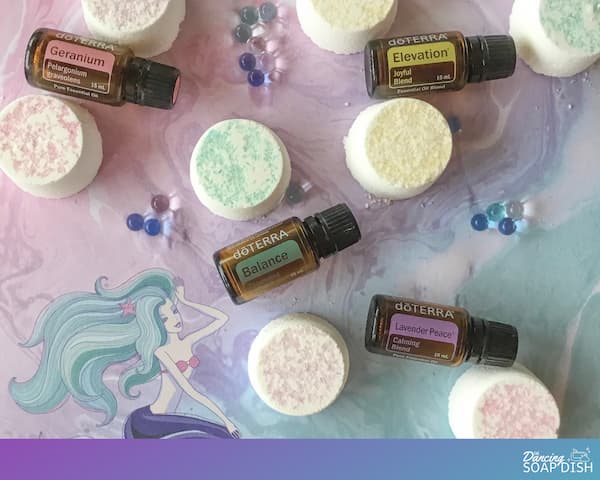
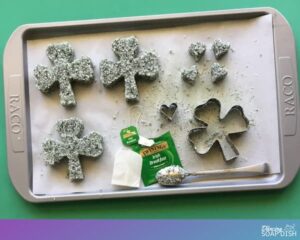
Today I am sharing a basic shower melts recipe that is perfect for beginners. They are decorated with coloured Epsom salts, are simple to make, and are an awesome way to share oils with family and friends.
How Do You Use Shower Melts?
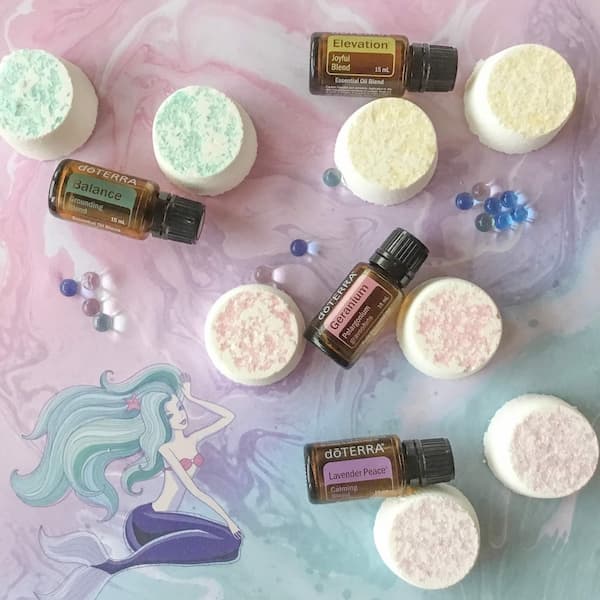
I make batches of plain melts and then add the essential oils just before I use them. I pick something different every time.
See my blog post about The Best Essential Oil Blends for Shower Melts for some great suggestions.
I drop the oils directly on top of a shower melt, then I place it in the corner of my shower where it will get wet, but is not directly below the water stream. It melts as shower and diffuses the essential oils in to the air. At the end of my shower I wash any residue down the drain.
Shower Melts Make a Great Gift!
Shower melts are a super easy way to share your essential oils with others. Simply make up some Essential Oil Shower Melt Samplers and give them as gifts with some oils you know each person will love.
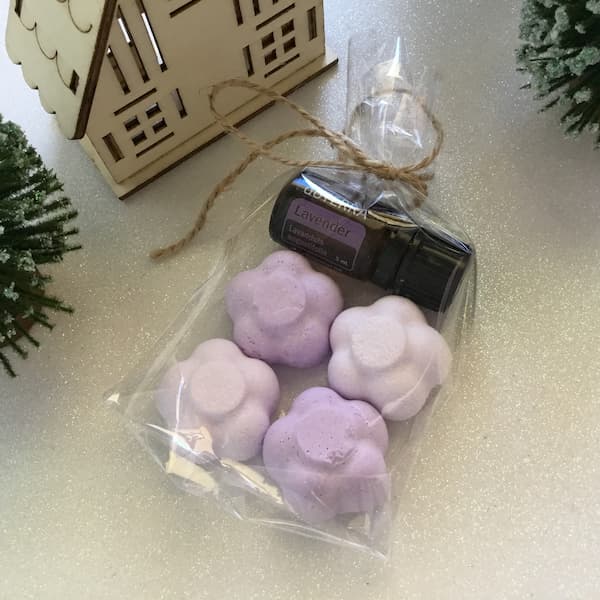
Simply wrap up some melts in cellophane or a cellophane bag, and include some sample vials or a small bottle of essential oil for the recipient to try. What a super-simple essential oil gift!
What You Need to Make Shower Melts
Baking Soda
Baking soda (or bi-carb soda) is one of the two ingredients required to create fizzing and bubbles when your shower water hits your shower melt. If your baking soda is lumpy, sift it as you add it to your mixture.
Citric Acid
Citric acid is the second ingredient required to create the chemical reaction that causes the release of carbon dioxide bubbles when your shower melt gets wet. Using a fine-grain citric acid is best when making shower melts.
Corn Starch
Also known as corn flour in some countries, corn starch is a white, finely milled flour derived from corn. It’s used in this recipe to hold all the ingredients together and will help your shower melts harden in the mould. You can also use arrowroot as a substitute if you wish.
Colored Epsom Salts
Don’t you just love the cute, little Epsom salt sprinkles on top of these shower melts?
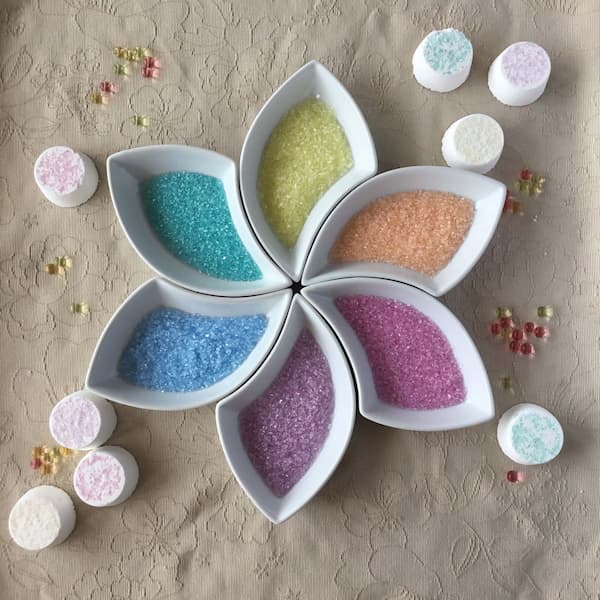
As this is a beginners recipe, I’ve chosen to decorate my shower melts with coloured Epsom salts. These are Epsom salts that have been pre-coloured and allowed to dry which helps you control the moisture content of this recipe. Trying to colour your entire shower melts mixture with food or soap colouring can be tricky as you run the risk of setting off a chemical reaction and having your shower melts ‘melt’ prematurely.
You can find full instructions for how to make coloured Epsom salts, plus some great ideas for how to use them, right here.
Water
To increase the storage longevity of your shower melts, do not use water from the tap in the recipe. This can lead to mould growth. Instead I recommend distilled, demineralized, or water that has been boiled and then cooled. Alternatively rose water (also available from the supermarket) is a great idea (and will add to the beautiful scent of your shower melts).
Essential Oils
Add your favourite essential oils to your shower melts right before you use them. See this blog post for the best essential oil blends to use with your shower melts.
Mixing Bowl & Spoon
You will require a mixing bowl and spoon to make this recipe. Using your hands for mixing is also a good idea, but I recommend you wear gloves as citric acid can ruin a good manicure.
Small Silicone Cupcake/Muffin Tray
A silicone mould is a must for this recipe so you can easily release your shower melts from your mould once they are dry. A mini muffin or mini cupcake pan is the ideal size for your shower melts.
How to Make Basic Shower Melts
Want your shower melts to look like mine?
I made one batch of shower melts in a mini cupcake pan and decorated them with pink, purple, yellow and aqua coloured Epsom salts.
Printable Tutorial for Basic Shower Melts
Basic Shower Melts
Equipment
- Mixing Bowl and Spoon
- Silicone Mini Muffin/Cupcake Pan or Ice Cube Tray
Ingredients
- 1 Cup Baking (Bi-Carb) Soda Sifted
- 1/4 Cup Citric Acid
- 1/4 Cup Corn Starch a.k.a. corn flour in some countries
- Water Distilled or purified is best
- Coloured Epsom Salts
- Essential Oils
Instructions
- Sprinkle several different colours of Epsom Salts in the bottom of each hole of your cupcake pan. In this case less is more. The Epsom salts won’t stick to each other but they will stick to the shower melt ingredients so make sure there are gaps in between the salts.
- Sift the baking soda, citric acid, and corn starch into a bowl, mixing until no lumps are present. Add water a few drops at a time.
- Use a spoon or your hands to combine the mixture, rubbing it between your fingers to evenly disperse the water. You’ll know you’ve used enough when it sticks together/packs down and can keep its shape.It will still look kind of dry, but if you take a handful of the mixture and squeeze it, it should pack easily into a ball. Too much water will make the mixture continue to fizz and puff up more. It may seem odd, but using your ears can help you with this step. As you are mixing, bring your ear down to the bowl and listen. Your mixture should be damp but not fizzing. If you used too much water in the mixture, it will continue to fizz and rise while it is drying. Constant and increasing fizzing means you may have added too much water, you can counteract this by adding more dry ingredients to the mix if it is too wet.
- Once you get the correct consistency, begin to fill your mould, pushing down the mixture into the holes and compacting it into place. Compaction is an important step as it may mean the difference between hard and crumbly melts once they are dry. It will also help your Epsom salts stick to the melts if you are using this decoration method.
- Set the melts aside to air dry for 24-36 hours (depending on the humidity where you live). When sufficiently hardened, your shower melts should release from your pan fairly easily, if they are still wet, they will not fall out with ease.
- Add your essential oils to the shower melts right before using. Drop the oils directly on top, then place in the corner of your shower where it will get wet, but is not directly below the water stream. Watch it melt as you shower and wash any residue down the drain when you are finished.
Notes
Directions for Using Shower Melts
Add your essential oils to the shower melts right before using. Drop the oils directly on top, then place in the corner of your shower where it will get wet, but is not directly below the water stream. Watch it melt as you shower and wash any residue down the drain when you are finished.
Enjoy!


