
Earlier this year I shared 5 Simple IKEA Hacks for Essential Oil Lovers and it turned out to be a hugely popular post.
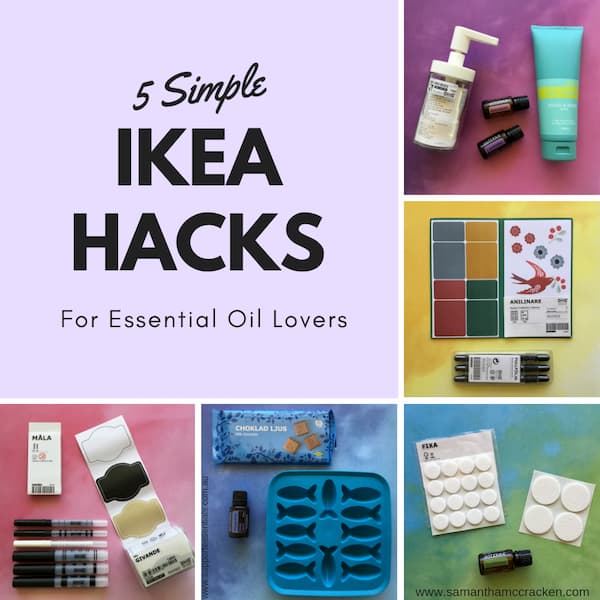
So now that the silly season is upon us, I’m sharing 5 more awesome hacks and inspiration for last-minute gift ideas.
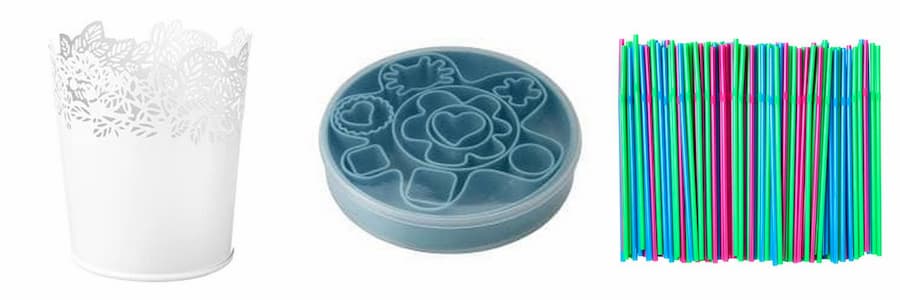
HACK #1 DIY Essential Oil Diffuser Jewellery
SAMVERKA Plant pot
DRÖMMAR 14-piece pastry cutter set in box, light blue
SODA Drinking straw
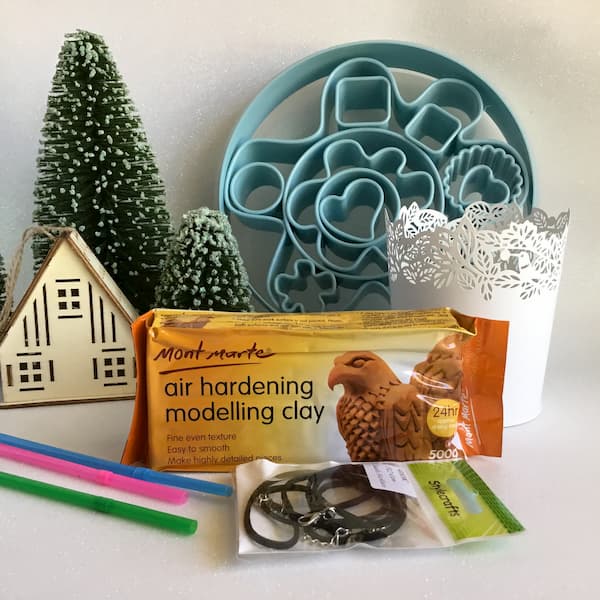
ADD
– Air Hardening Clay
– Suede or Leather Necklace (I picked up both of these from my local discount store)
– a cup of water
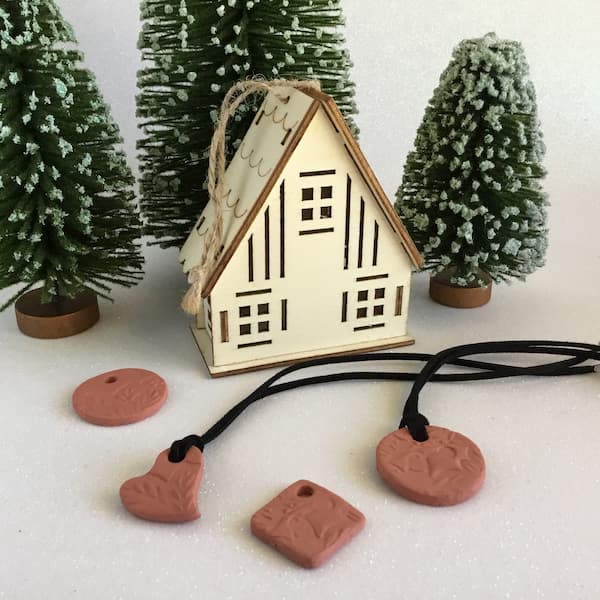
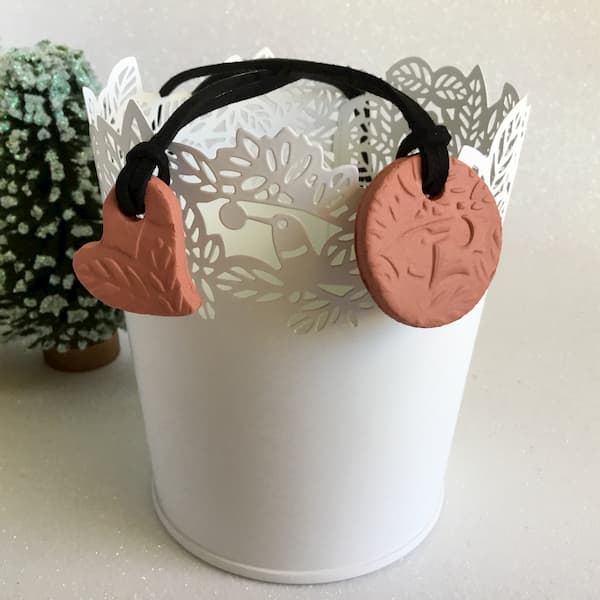
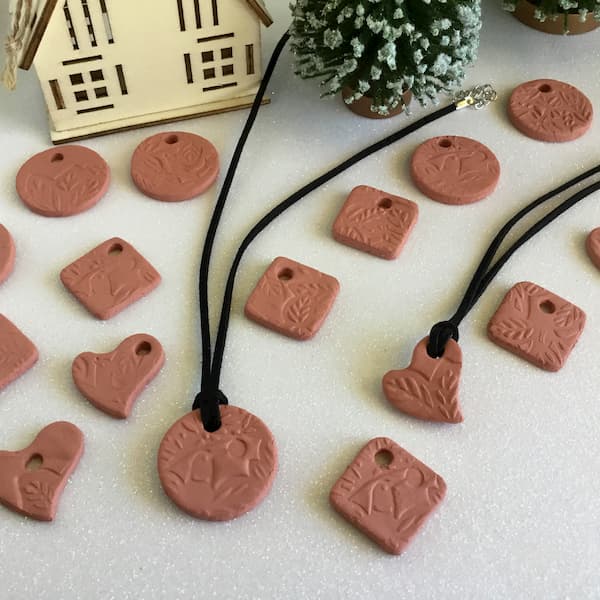
Ever wanted to make your own diffuser jewelry but just didn’t know how to go about it? Well here is an easy peasy IKEA hack for making a beautiful pendant out of air hardening clay.
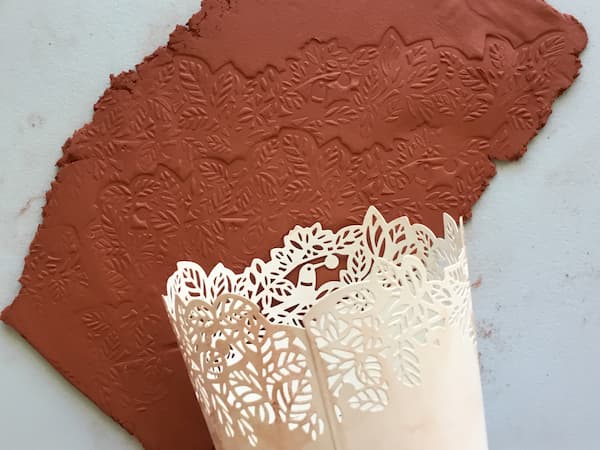
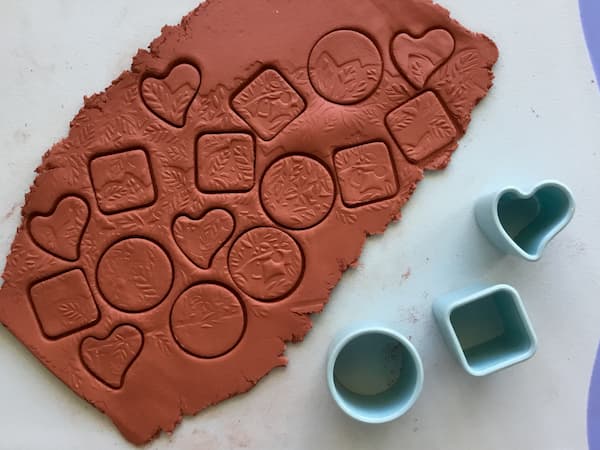
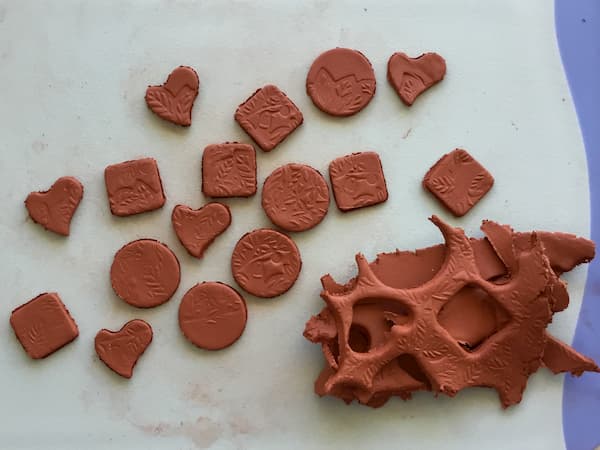
Roll out your clay and roll a SAMVERKA plant pot across it to emboss the clay with its pretty design. Then use a DRÖMMAR pastry cutter set to cut out small embossed shapes. Remove the excess clay then smooth the edges of your clay shapes with a finger dipped in water.
Finally, punch out a hole in the shape with a SODA drinking straw and put the shapes aside to dry on a paper towel (refer to the instructions for your air hardening clay to determine drying time).
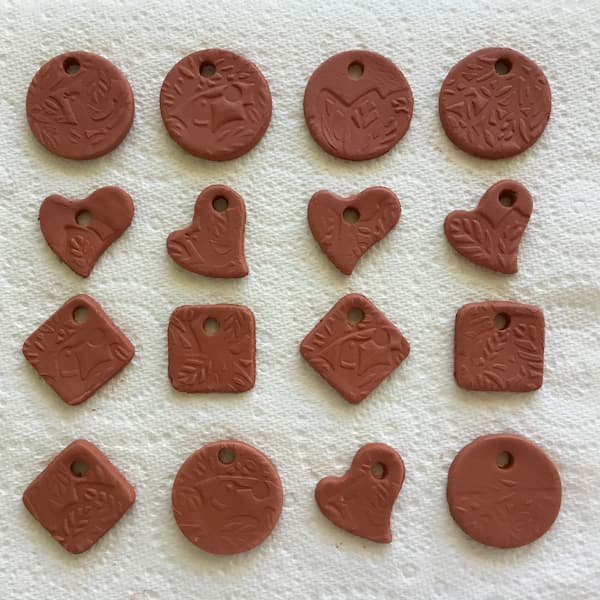
Once dry, thread a suede necklace through your clay pendant, add some essential oils and fasten your necklace around your neck – so easy!
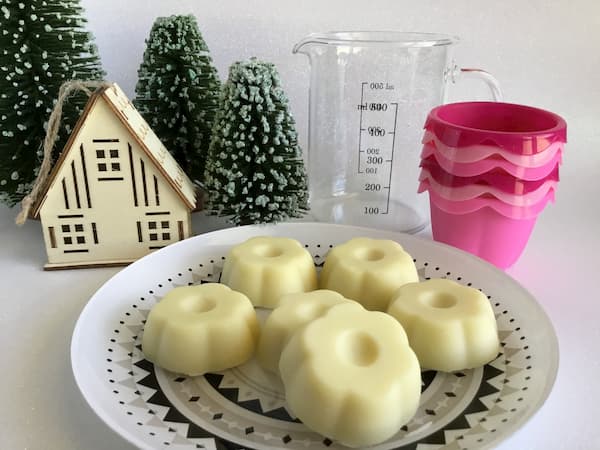
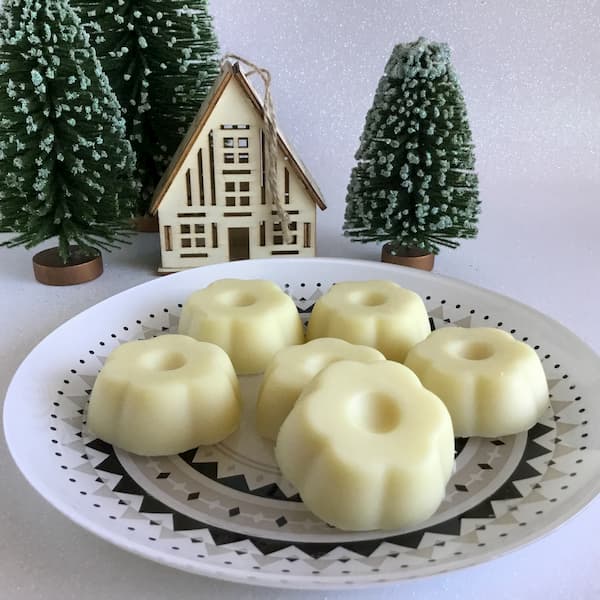
Hack #2 Essential Oil Lotion Bars
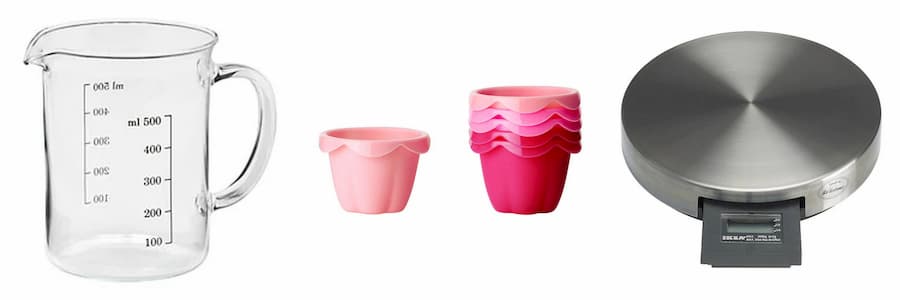
VARDAGEN Measuring jug, glass
SOCKERKAKA Baking cup, assorted colours
ORDNING Scales, stainless steel
ADD
– Your favourite lotion bar recipe (I’ve shared mine below)
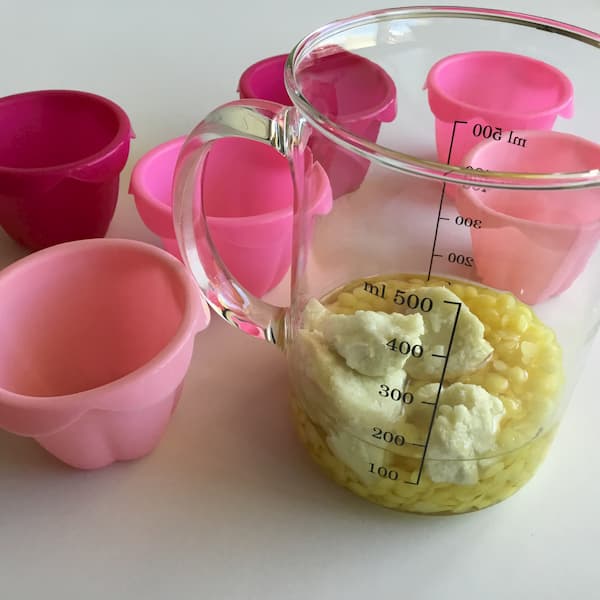
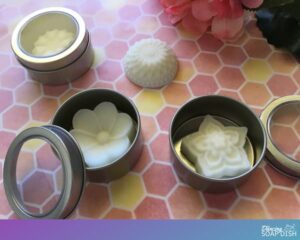
These SOCKERKAKA baking cups from IKEA are supposed to be for baking cupcakes, but just look at the shape of the base – it forms a cute little blossom! I just couldn’t resist filling these cups with something other than cake batter.
Everyone loves a good lotion bar, but a good lotion bar needs a good shape for ease of use. It needs to fit snugly in the palm of the hand, and have some curves for easy application to dry, pointy elbows and rough, round heels. These IKEA Hack lotion bars tick all the boxes – the circular indent in the centre is just PERFECT for elbows!
So I grabbed my VARDAGEN measuring jug to get started. This is my go-to measuring jug for all of my essential oil DIY’s. It is glass but so light-weight, and the shape and spout make it perfect for melting & pouring. So if you are looking for a dedicated essential oil DIY jug (which I recommend as it is a good idea not to use the same jugs you use for food prep) then this one beats a Pyrex jug hands-down.
LOTION BARS
What you need
- 55g Shea Butter
- 40g Beeswax
- 65g Refined Coconut Oil (not FCO)
- 80 drops Essential Oil (My fave combo is 20xGeranium, 20xLitsea & 40xLavender)
- 80 drops Rosehip Oil (optional)
Method
Add shea butter, beeswax and coconut oil to glass jug and melt in short bursts in the microwave, stirring regularly. Once melted, let it stand for two minutes to cool slightly, then add essential oils and rosehip oil (if using).
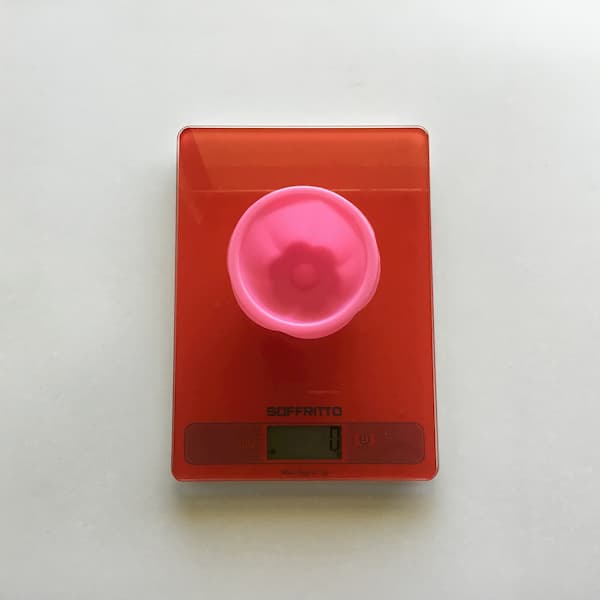
Stir well, then use your kitchen scales (or IKEA’s ORDNING scales) to weigh out 25g of mixture into each SOCKERKAKA cake cup.
Allow to cool at room temperature (I like to let them set for 24 hours) then remove from cups.
Makes 6 x 25g bars.
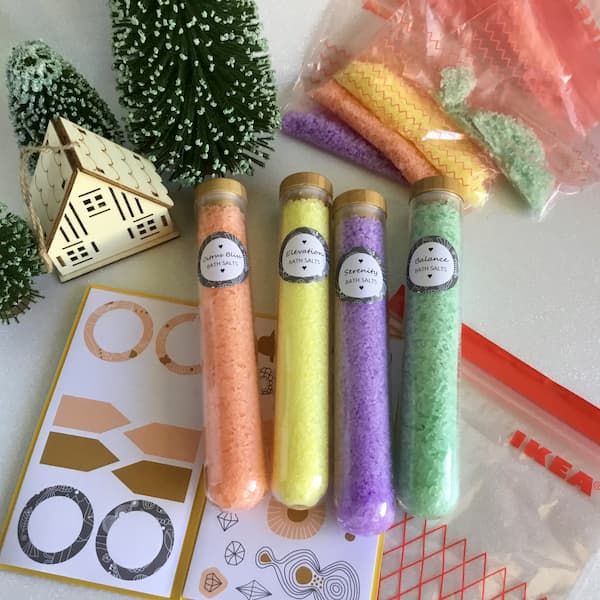
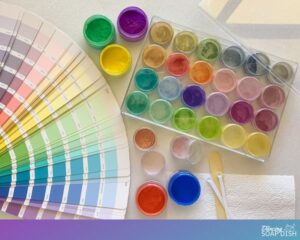
Hack #3 Essential Oil Bath Salts
RIMFORSA Container, tube-shaped glass
ISTAD Plastic bag, red zip lock
LANKMOJ Folder with stickers, white black, pink

ADD
– Your favourite bath salts recipe (I’ve shared mine below)

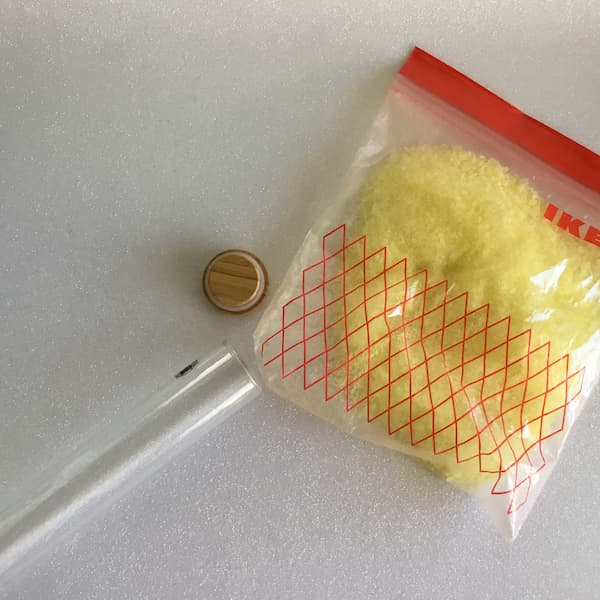
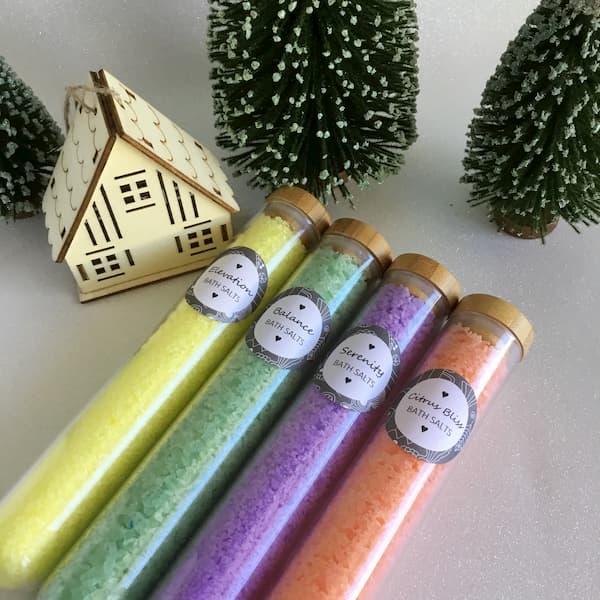
There’s something so elegant about bath salts presented in long glass tubes. I’ve seen pictures on Pinterest but wondered where I would actually ever find suitable containers to get the perfect look. Then one day I walked into IKEA and came face to face with these RIMFORSA tube-shaped glass containers. I was in love.
The light bulbs started to appear above my head and I grabbed some ISTAD zip-lock bags and some LANKMOJ stickers and I think the resulting bath salts DIY Christmas gift is just beautiful.
BATH SALTS
What you need
Please note – this recipe makes enough bath salts to fill one glass tube only. You will need to make four batches to fill four tubes.
- 1/2 Cup Epsom Salts
- 1/4 Cup Rock Salt
- 2tsp Bicarb (baking) Soda
- 1/2tsp Fractionated Coconut Oil
- 10-15 Drops of Essential Oils
- Soap Colouring or Food Colouring

Method
Add all the ingredients into a 1L (34floz) ISTAD zip long bag (the larger of the two) and shake, shake, shake until everything is well combined. Then put the bag aside for 48hrs to let your bath salt mixture dry out (otherwise it will clump together in the container, making it difficult to get out).
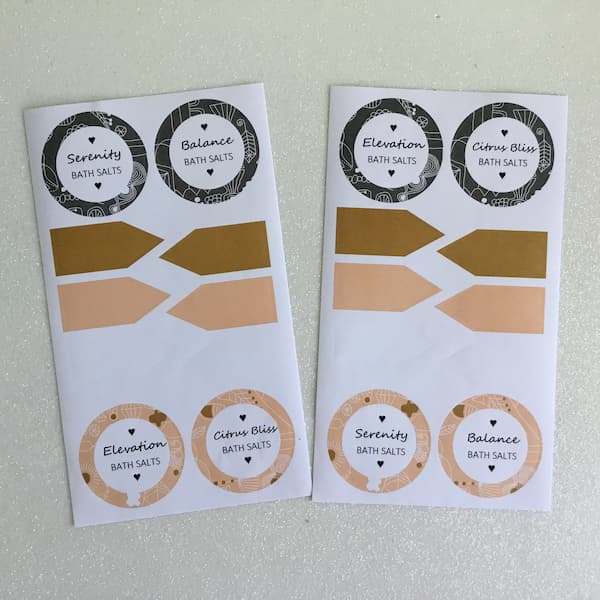
In the meantime you can print up some labels using your home printer and the LANKMOJ stickers. Here is a Microsoft Word doc template I have created for you to use.
Simply put a sheet of stickers in your home printer and press print.
When your bath salts are dry, simply snip the corner off your zip lock bag with a pair of scissors and pour the salts into the glass tube. Put the lid on and give it a shake to let the salts settle, then add more if necessary (don’t cram them in too hard, they won’t come out).
Store any excess salts in a 0.4L (14floz) ISTAD zip lock bag in case the salts in your tube settle further and require a top-up. Label your bath salts with the printed LANKMOJ stickers and your beautiful collection of bath salts is complete.

HINT: If you live in a humid area as I do, then your bath salts may stick together even if you have dried them thoroughly (the salt just soaks up the moisture from the air). I like to include a bamboo skewer with my bath salts to provide the giftee with an easy solution for dislodging them if necessary.
Hack #4 Essential Oil Shower Pamper Pack
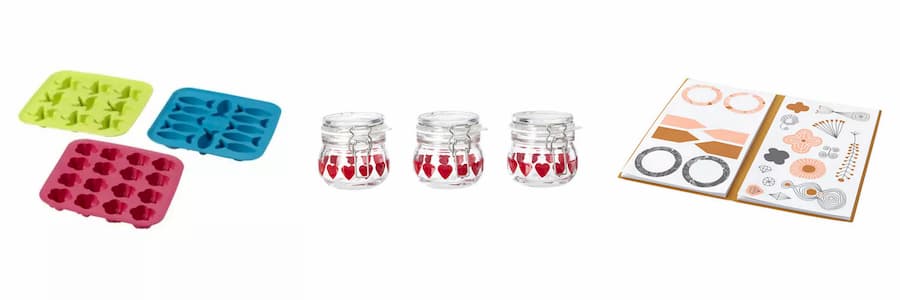
PLASTIS Ice cube tray, green/pink, turquoise
VINTER 2018 Jar with lid
LANKMOJ Folder with stickers, white black, pink
ADD
– Your favourite sugar scrub recipe (there’s a link to mine below)
– Your favourite shower melts recipe (I’ve shared mine below)
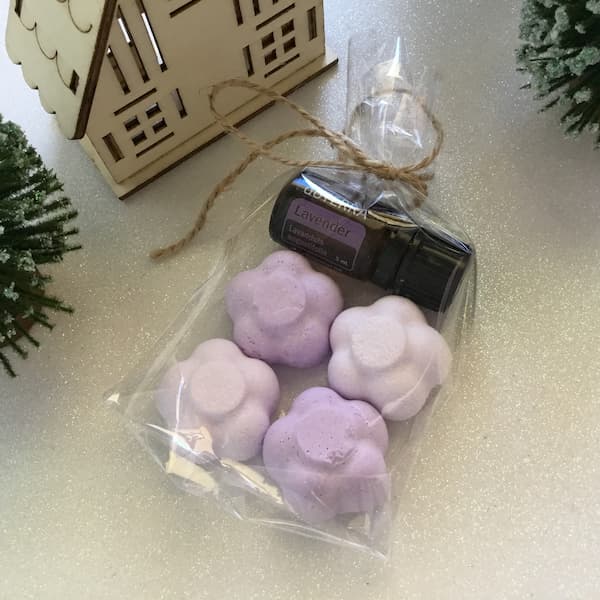
– A 5ml bottle of essential oil
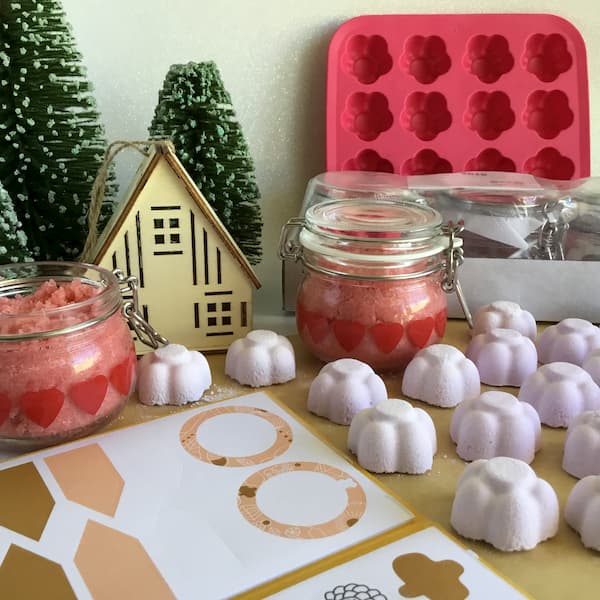
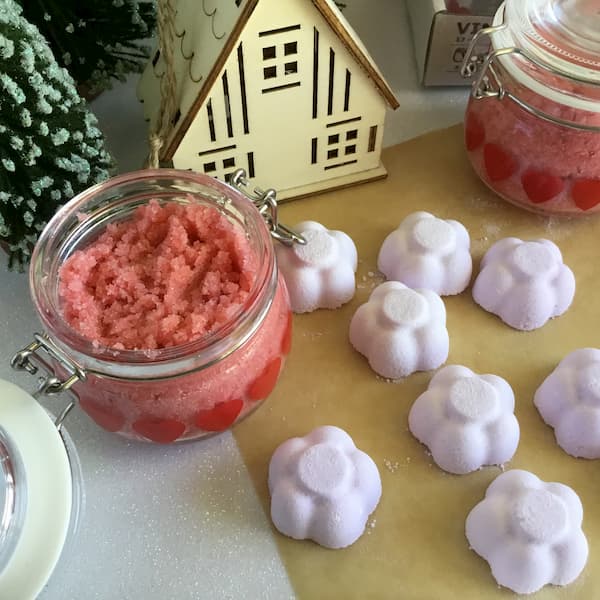
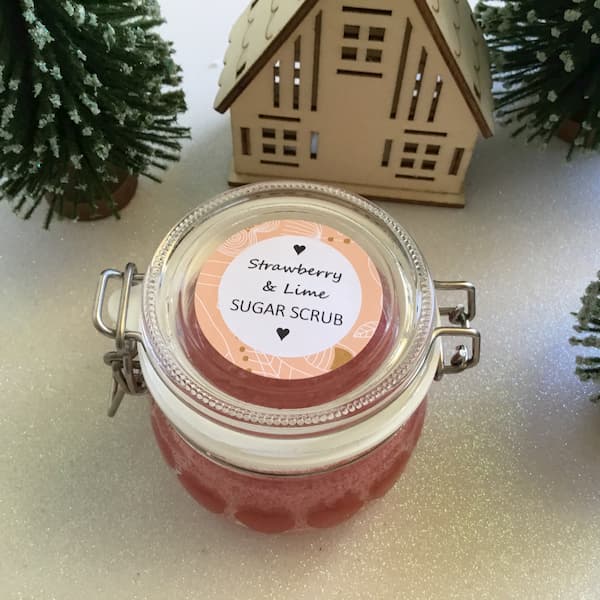
Putting together a Shower Pamper Pack for your loved one or favourite teacher is super easy and always appreciated. Today my pamper pack includes a Strawberry and Lime Sugar Scrub and a small bag of shower melts complete with a doTERRA 5ml Lavender Essential Oil.
I’ve been making shower melts out of the IKEA PLASTIS flower ice cube tray for over a year now. I find they are the perfect size, sturdy and great for DIY beginners. Plus check out these gorgeous VINTER 2018 glass jars. I love the cute heart design and a LANKMOJ sticker fits perfectly on its lid!
SHOWER MELT
What you need
- 1/2 Cup Bicarb (baking) soda
- 2tbsp Citric Acid
- 2tbsp Corn Flour or Arrowroot
- Soap Colour or Food Colouring
- 1-2tsp of water*
Method
Sift dry ingredients into a bowl and whisk until mixed well. Add colour and 1tsp of water and whisk quickly and thoroughly (hand mixing works well too but wearing gloves is recommended).
Check your mixture, if it clumps together well then you are ready to fill your mould. If not, then add the second teaspoon (or 1/2tsp) of water and mix again. Be careful with your water additions as too much water will ruin this recipe (but you can save it by adding more dry ingredients if necessary).
Push your mixture into a PLASTIS flower ice cube tray making sure to firmly compact it into the centre of your flower (otherwise I find the shower melts are more prone to crumbling when you de-mould them). Keep filling and compacting each mould insert until you run out of mixture.
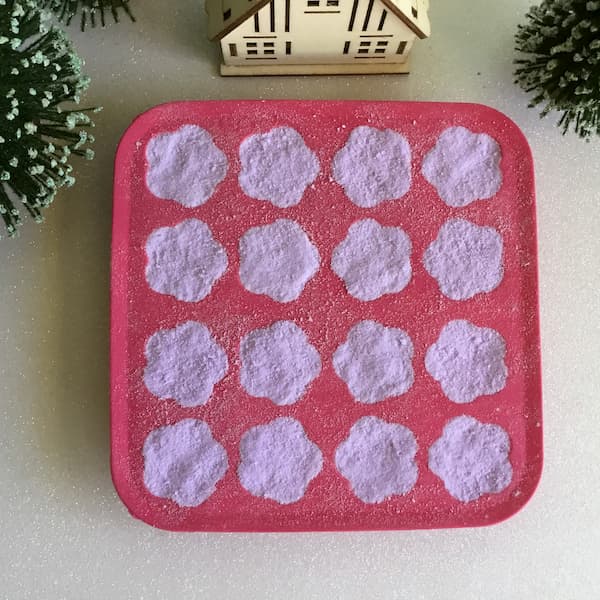
Set aside to dry for 24-72 hours and then turn your ice tray over and de-mould your shower melts. If you live in a humid area then it may take at least 3 days for the shower melts to dry. If they are not easily popping out of the tray then they may need longer to set.
Add your essential oils to the shower melts right before using. Drop the oils directly on top, then place in the corner of your shower where it will get wet, but is not directly below the water stream. Watch it melt as you shower and wash any residue down the drain when you are finished.
STRAWBERRY AND LIME SUGAR SCRUB
I love this Strawberry and Lime Sugar Scrub Recipe from The Inspired Little Pot. It is super easy to make (I did it in about five minutes), has no nasties, and smells so amazingly YUM (come to think of it, as the ingredients are all-natural, it IS actually edible).
The recipe easily filled my three VINTER 2018 jars and there was even a little bit left over for me to pamper myself with. You can find the recipe here.
And finally, I printed up some labels using the LANKMOJ stickers and my home printer. Here’s a the template for those of you who would like to replicate them.
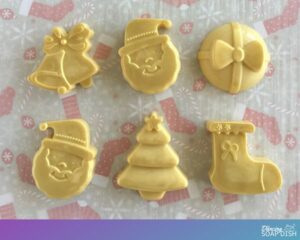
Hack #5 Essential Oil Sampler Ornaments
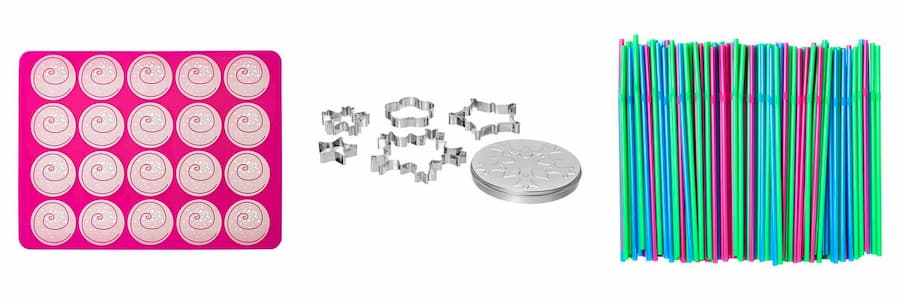
VINTER 2018 5 pastry cutters with tin, assorted shapes
MÖNSTRAD Oven/baking mat, pink
SODA Drinking straw
ADD
– Air Hardening Clay
– Essential Oil Sample Vials
– Essential Oil Cap Stickers
– String
– Craft Gems for decoration (optional)
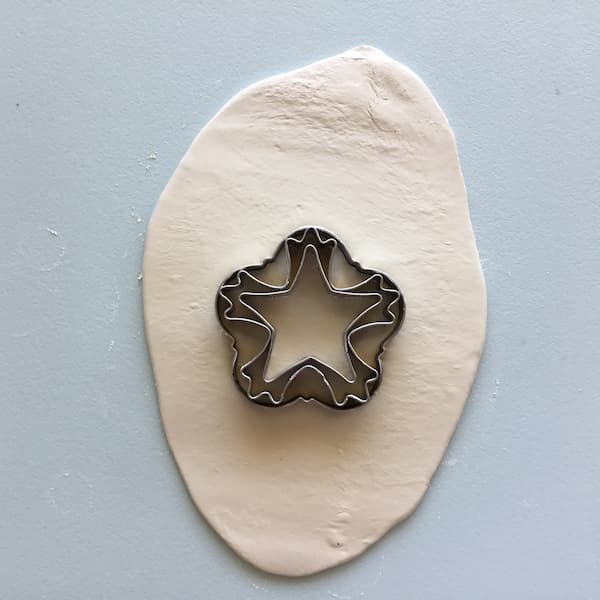
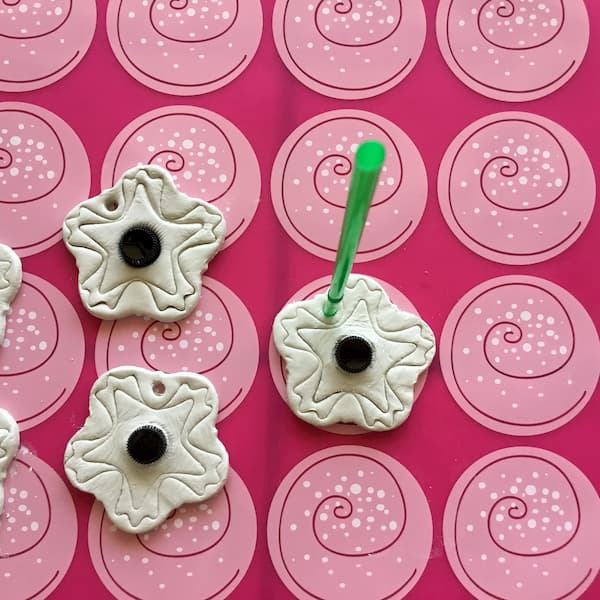
These VINTER 2018 snowflake-shaped pastry cutters instantly caught my eye and as I sat pondering what to make with them (a tower of snowflake bath salt cakes came to mind), I couldn’t resist the idea of Christmas Diffuser Ornaments.
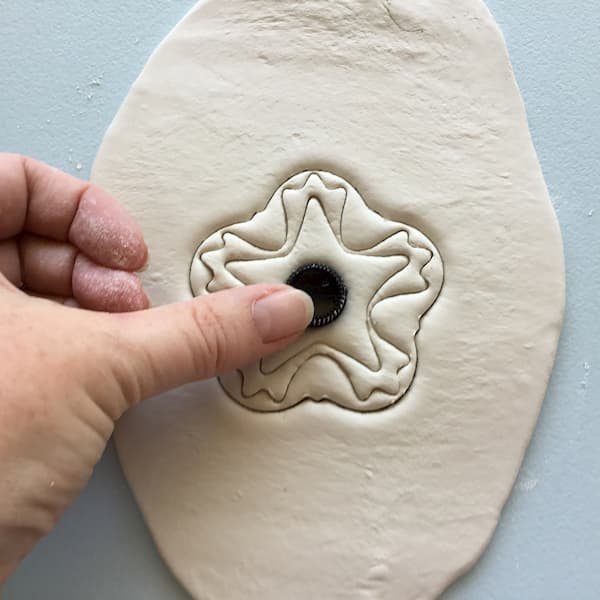
The way these pastry cutters are nestled inside each other in their tin also gave me a great idea. What if I ‘nestled’ an essential oil sample vial into the centre of my diffuser ornament? Essential oils would be close to hand any time I felt the scent of my diffuser needed replenishment AND it would be an awesome way to ‘dress up’ any essential oil sample I gave to family and friends this Christmas.
Here are some other ways to use your Essential Oil Sampler Ornament:
- tie it to the rail in your closet to use as a wardrobe deodorizer
- tie it to an air vent in your car
- add a festive sent and hang it on your Christmas tree
Method
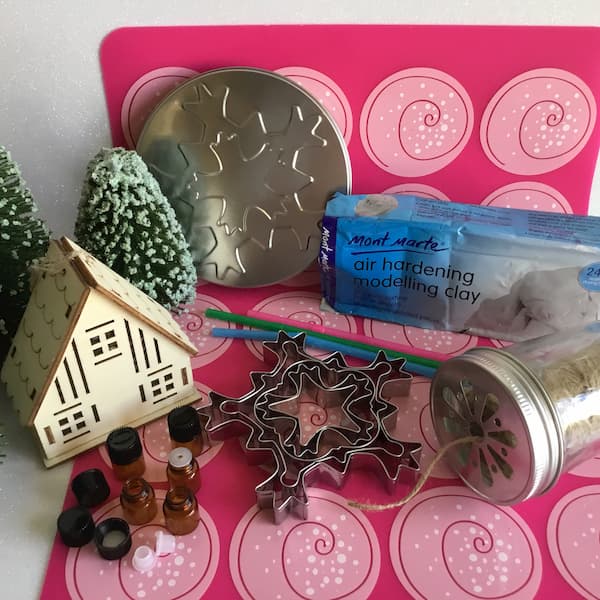
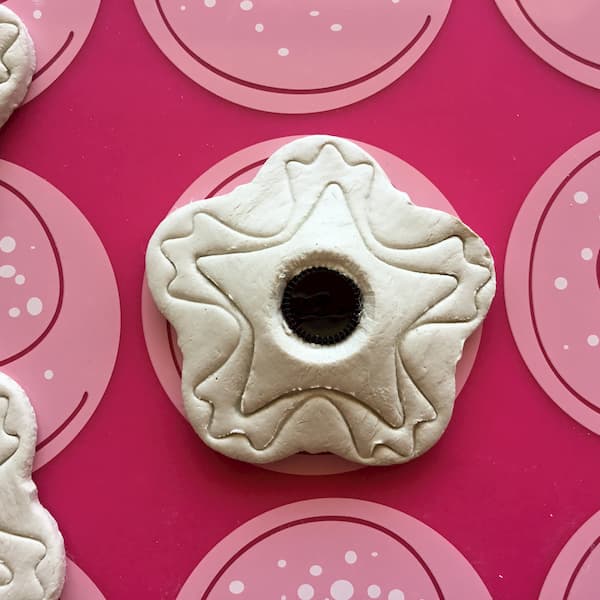
Roll out your clay to 3-5mm thick. Use IKEA VINTER 2018 pastry cutter to cut and emboss your desired design. Pull away excess clay and transfer your ornament to a MÖNSTRAD silicone baking mat (I use this mat for all of my essential oil DIY’s, I find it an environmentally friendly alternative to baking paper!).
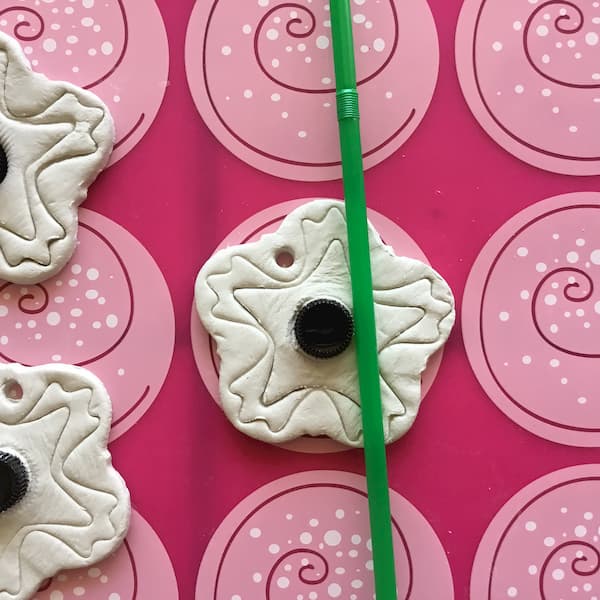
Smooth out any rough edges with a finger dipped in water. Take the cap of an essential oil sample vial and push it through the centre of your design. Remove the punched-out circle of clay from underneath the cap and ensure your ornament fits snugly around the cap (I did this by actually laying my design over the cap and using a SODA drinking straw to gently roll down the edges). Now use a SODA drinking straw again to punch a hole in your ornament for the string to be tied through.
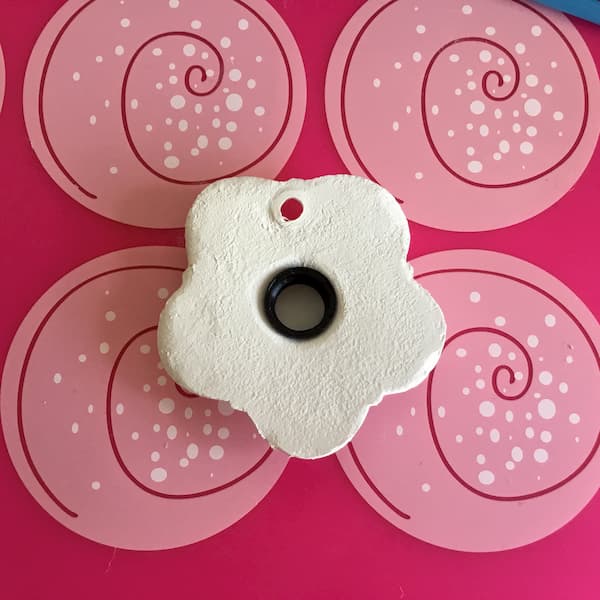
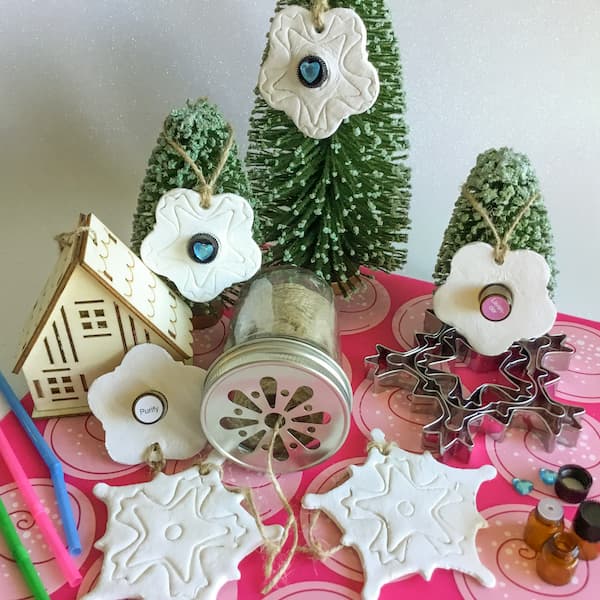
Set your ornaments aside to dry WITH THE SAMPLE VIAL CAP NESTLED INSIDE IT. This is an important step. Your clay will shrink as it dries and close firmly around the cap. If you let your ornament dry and try to add the cap later, it will not fit.
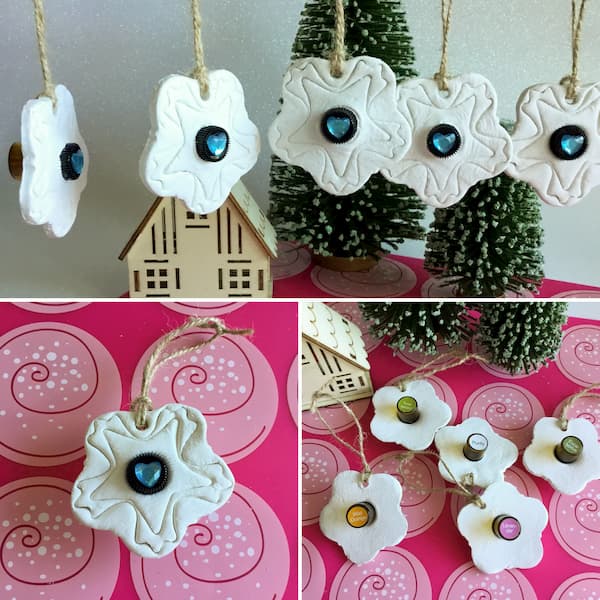
Once dry, clean up any clay residue on the sample vial cap with a damp cloth (I also find a baby wipe works very well). Fill your sample vial with your desired essential oil and screw it onto the back of the ornament. I added a cap sticker to the base of the vial so I know which oil is in it and added a craft gem to the cap to pretty up the display side of my ornament. Thread through some string and your Essential Oil Sampler Ornament is complete.
Enjoy!
