
Sampling essential oils to friends and family can sometimes be a bit tricky.
Understandably you want the person you have sampled to enjoy the experience and love the essential oils as much as you do.
That’s why I adore these cute little Shower Melts Samplers. They are a real no-fuss solution because they are easy to make and easy for others to use.
This post contains affiliate links. If you buy something through one of those links, I will receive a small commission at no extra cost to you. As an Amazon Associate I earn from qualifying purchases.
Thank you for supporting my site!
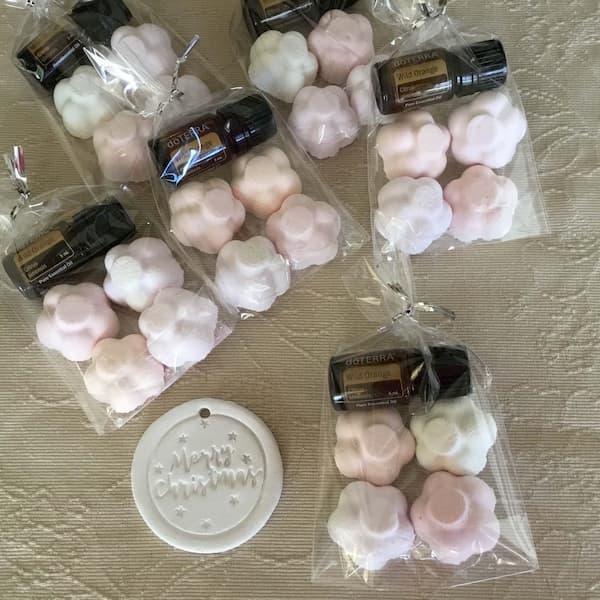
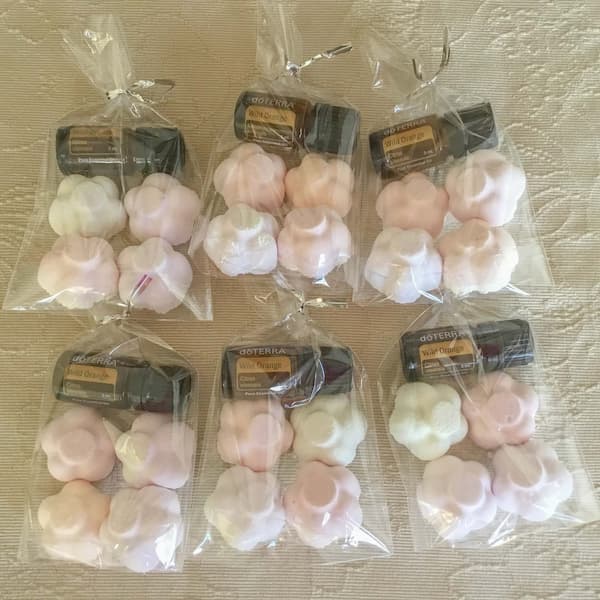
Simply wrap up some melts in cellophane or a cellophane bag, and include some sample vials or a small bottle of essential oil for the recipient to try. What a super-simple way to share your favourite essential oils with others.
They are also a great gift idea for Christmas and Birthdays!
Gather Your Supplies for an Essential Oil Shower Melts Sampler
Baking Soda
Baking soda (or bi-carb soda) is one of the two ingredients required to create fizzing and bubbles when your shower water hits your shower melt. If your baking soda is lumpy, sift it as you add it to your mixture.
Citric Acid
Citric acid is the second ingredient required to create the chemical reaction that causes the release of carbon dioxide bubbles when your shower melt gets wet. Using a fine-grain citric acid is best when making shower melts.
Corn Starch
Also known as corn flour in some countries, corn starch is a white, finely milled flour derived from corn. It’s used in this recipe to hold all the ingredients together and will help your shower melts harden in the mould. You can also use arrowroot as a substitute if you wish.
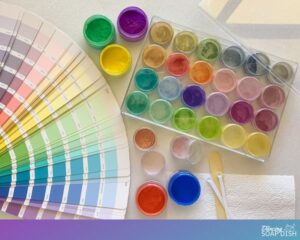
Soap Coloring
Colouring your shower melts is optional, but you have to admit a little colour goes along way. Food colouring is what most people reach for and, while you can have success using food colouring to colour your shower melts, I want to warn you that food colouring can contain ingredients that may cause your melts to fizz prematurely, or crack and crumble once dry. Food colouring is also prone to fading after a relatively short time.
I use soap colouring for my shower melts because the ingredients are stable and consistent across all colours.
Water
To increase the storage longevity of your shower melts, do not use water from the tap in the recipe. This can lead to mould growth. Instead I recommend distilled, demineralised, or water that has been boiled and then cooled.
Essential Oils
A 5ml bottle of one of your favourite essential oils will fit perfectly in your cellophane bag with your shower melts. Alternatively, sample vials with 5-10 drops of oil (per shower melt) are also a good idea. See my blog post about The Best Essential Oil Blends for Shower Melts for some great suggestions.
Mixing Bowl and Spoon
You will require a mixing bowl and spoon to make this recipe. Using your hands for mixing is also a good idea, but I recommend you wear gloves as citric acid can ruin a good manicure.
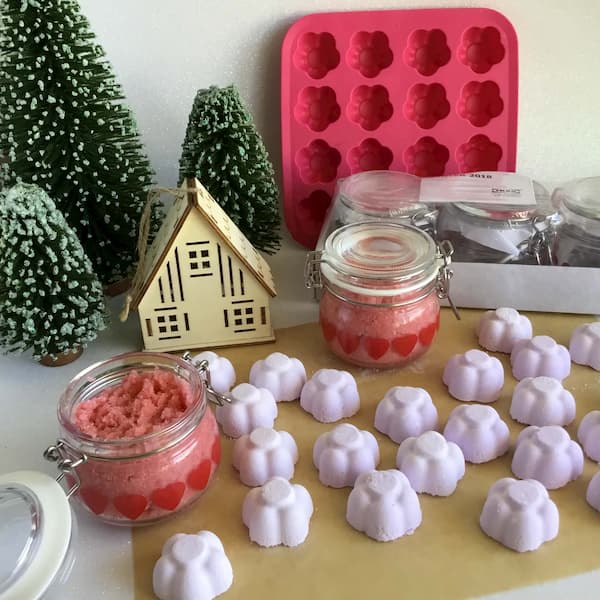
A Silicone Mould
Novelty ice cube trays and candy moulds make perfect shower melt moulds. An ideal mould for shower melts is one that has rounded cavities with simple details, like this ice tray and these candy moulds. With these moulds you can create little melts which are the perfect size for a sampler.
Cellophane Bag
Cellophane bags such as these are a super convenient way to package your bath bombs and are readily available at your favourite craft store. A bag measuring approx 4″ x 6″ is ideal.
If you can’t locate cellophane bags even just plain cellophane will do the trick. Just cut out a square, wrap your bath bomb, and tie it with a pretty ribbon or some twine.
Labels
I highly recommend you label any homemade essential oil gift with the ingredients you have used plus directions for use. The easiest way to do this is with printable sticker paper. Just create a basic label in your favourite word processing program and print it onto the adhesive backed paper using your home printer.
Use a ruler and a craft knife to cut up your labels and then stick them onto the back of your sample packs. You can also use your label to seal your cellophane bag if you don’t have any ribbon or string handy.
Want your Shower Melts Sampler to look like mine?
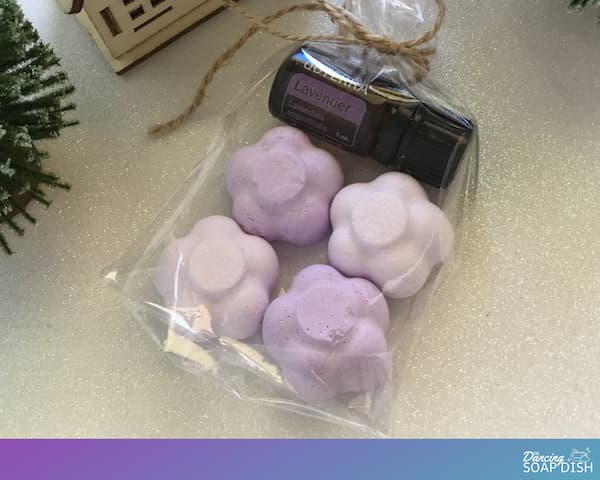
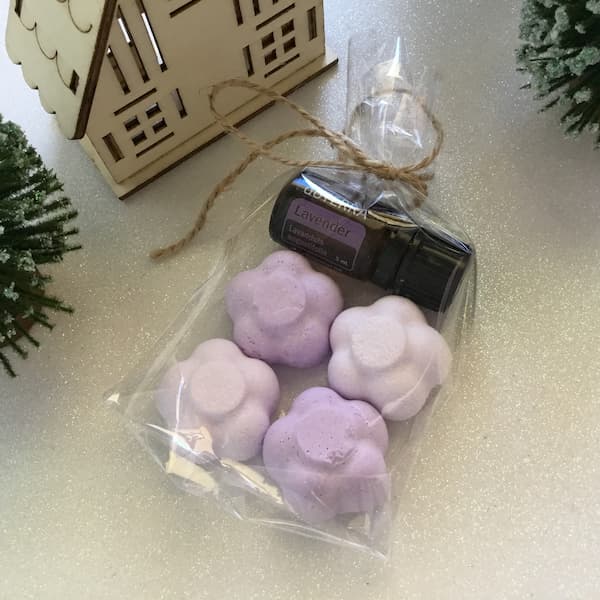
I made two batches of shower melts using a PLASTIS Ice cube tray from IKEA. One batch with three drops of lilac soap colouring and one with seven drops. Then I took two shower melts from each batch and a 5ml bottle of Lavender Essential Oil and placed them in a 4″ x 6″ cellophane bag and tied it off with some hessian twine.
Here’s the recipe.
Shower Melts Sampler
Equipment
- Mixing Bowl and Spoon
- Mixing Bowl and Spoon
- Cellophane Bags
- Ribbon or Twine
- Printable Sticker Paper
- Ruler and Craft Knife
Ingredients
- 1/2 Cup Baking (Bi-Carb) Soda Sifted
- 2 Tbsp Citric Acid
- 2 Tbsp Corn Starch a.k.a. corn flour in some countries
- 1-2 Tsp Water Distilled or Purified is best
- Soap Colouring Optional
- Essential Oils
Instructions
- Sift the bi-carb soda, citric acid, and corn flour into a bowl, mixing until no lumps are present. Add soap colouring (optional), and then add water a few drops at a time.
- Use a spoon or your hands to combine the mixture, rubbing it between your fingers to evenly disperse the water. You’ll know you’ve used enough when it sticks together/packs down and can keep its shape.It will still look kind of dry, but if you take a handful of the mixture and squeeze it, it should pack easily into a ball. Too much water will make the mixture continue to fizz and puff up more. It may seem odd, but using your ears can help you with this step. As you are mixing, bring your ear down to the bowl and listen. Your mixture should be damp but not fizzing. If you used too much water in the mixture, it will continue to fizz and rise while it is drying. Constant and increasing fizzing means you may have added too much water, you can counteract this by adding more dry ingredients to the mix if it is too wet.
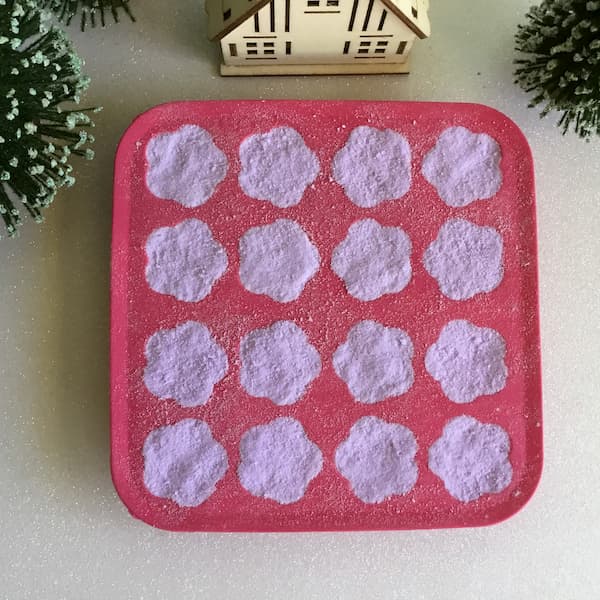
- Once you get the correct consistency, begin to fill your mould, pushing down the mixture into the holes and compacting it into place. Compaction is an important step as it may mean the difference between hard and crumbly melts once they are dry.
- Set the melts aside to air dry for 24-36 hours (depending on the humidity where you live). When sufficiently hardened, your shower melts should release from your mould fairly easily, if they are still wet, they will not fall out with ease.
- While your shower melts are drying, create some labels for your samplers using your favourite word processing/publishing program. Be sure to include an ingredients list and directions for use.
- Print your labels on to printable sticker paper. Use a ruler and a craft knife to cut up your labels ready to stick on to your sampler packs.
- Once dry, release your shower melts from the mould. Place 4-6 shower melts into a cellophane bag with a 5ml bottle (or sample vials) of essential oil. Tie up/seal each bag and attach a label.
Directions for Use
- Add your essential oils to the shower melts right before using. Drop the oils directly on top, then place in the corner of your shower where it will get wet, but is not directly below the water stream. Watch it melt as you shower and wash any residue down the drain when you are finished.
Notes
Directions for Use
Add your essential oils to the shower melts right before using. Drop the oils directly on top, then place in the corner of your shower where it will get wet, but is not directly below the water stream. Watch it melt as you shower and wash any residue down the drain when you are finished.
Enjoy!


Thanks for sharing! Does it keep long?
If stored correctly they can keep for at least twelve months.