
Bath salts recipes are hugely popular this time of year. I think it’s because they are one of the easiest essential oil do-it-yourself projects.
Presenting beautiful bath salts has always been a hobby of mine and over the past couple of years I have become completely obsessed with bath salt cakes. They are a super easy way to ‘dress up’ plain old everyday bath salts and give them that extra ‘wow’ factor.
This post contains affiliate links. If you buy something through one of those links, I will receive a small commission at no extra cost to you. As an Amazon Associate I earn from qualifying purchases.
Thank you for supporting my site!
What’s a bath salt cake? Well, it’s bath salts with a tiny bit of water added so you can compress the salts into a basic shape. Some people use a moon cake press, but guess what? Even a plain old cookie cutter will do the trick!
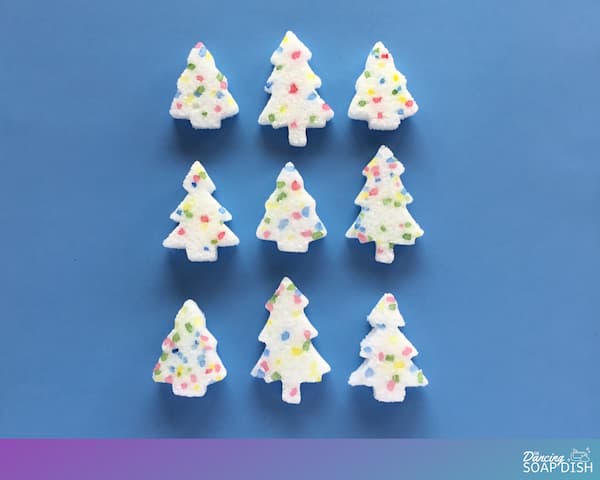
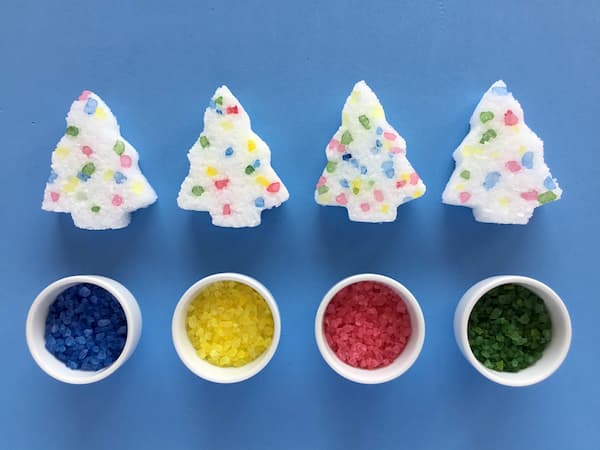
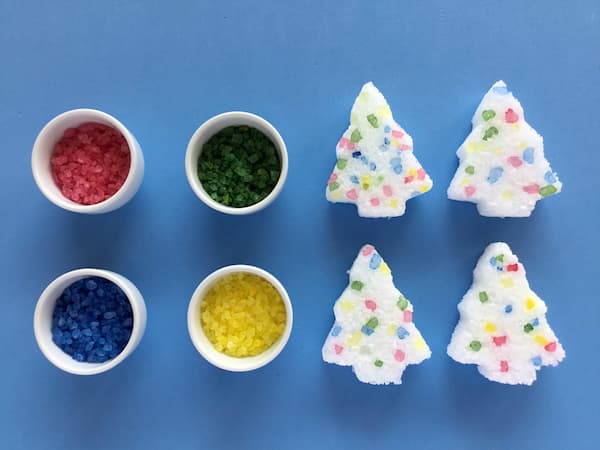
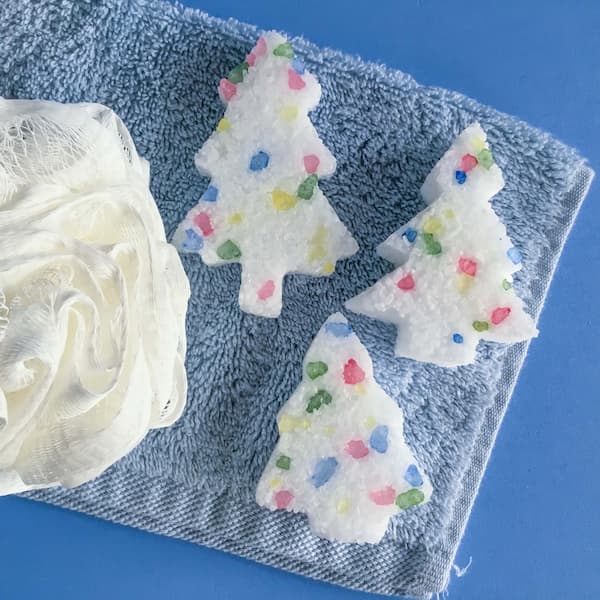
These Christmas Tree Bath Salt Cakes are the perfect example.
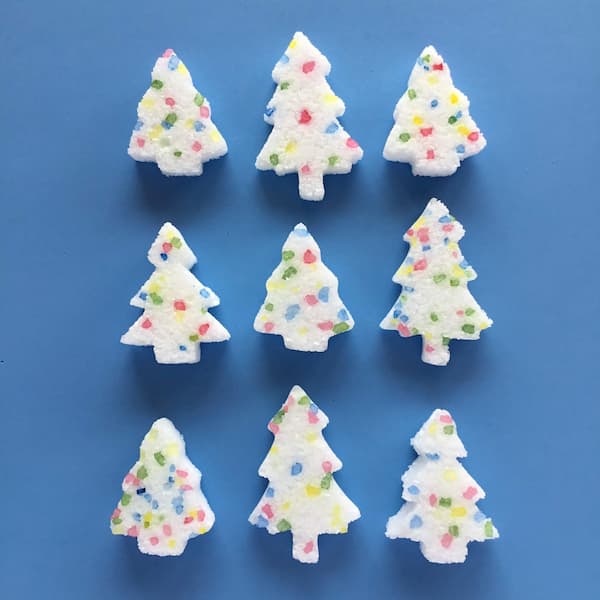
I’ve used some Christmas tree cookie cutters I just happened to have lying around the house and I’ve decorated my trees with rock salt baubles that I dyed with soap colouring (you can also use food colouring as an alternative).
Too easy!
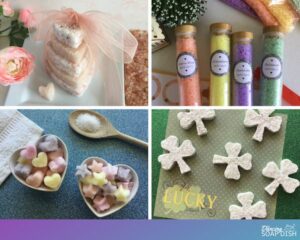
Related Posts
Essential Oil Bath Salt Gems – Christmas Edition
Essential Oil Bath Salts IKEA Hack
Easter Epsom Salt Cakes

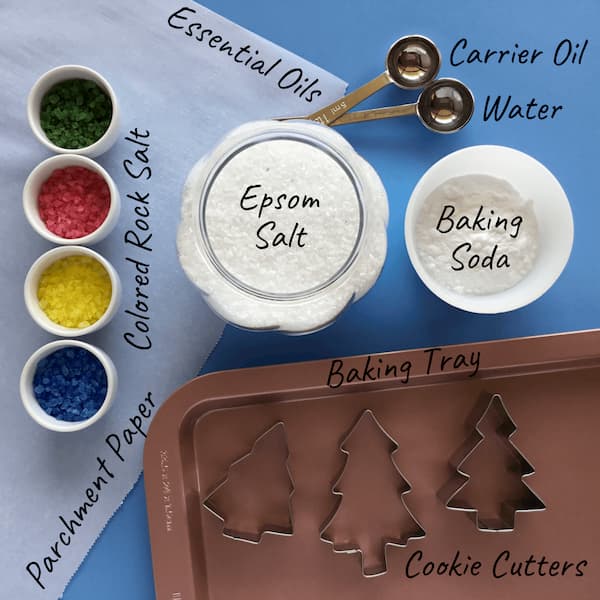
Gather Your Supplies to Make Christmas Tree Bath Salt Cakes
Epsom Salts
Epsom salts lie at the heart of every good bath salts recipe due to the many uses and benefits they have for our well-being.
Rock Salt
Rock salt is another popular addition to bath salts recipes. In this recipe I’ve also used them in a decorative manner as coloured ‘baubles’ hanging on my Christmas trees.
Baking Soda
Baking soda (or bi-carb soda) is a common ingredient in bath salts due to its health benefits when used in a bath.
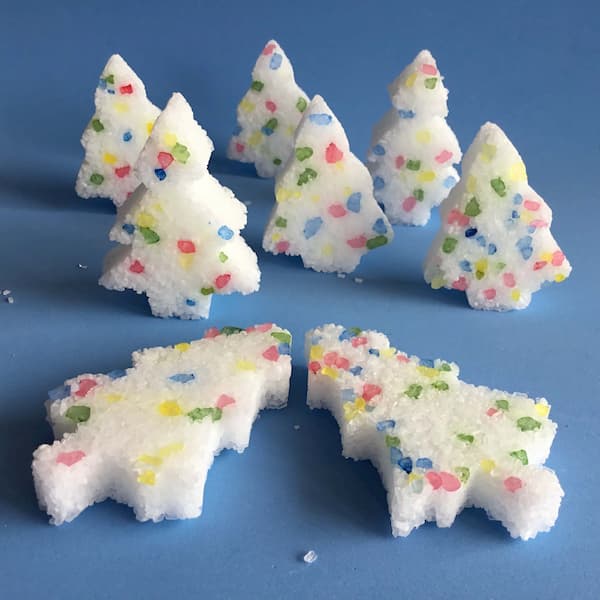
It’s also the glue that’s gonna hold these cute little cakes together. If you leave it out your cakes will still hold together initially, but sometime in the future they will crumble back into salt.
If your baking soda is lumpy, sift it as you add it to your mixture.
Carrier Oil
As this recipe uses essential oils, I have included a carrier oil for dilution purposes. Essential oils should always be diluted, especially in the bath (where they have access to all sorts of nooks and crannies they might not ordinarily have).
Common carrier oils include fractionated coconut oil, jojoba oil, sweet almond oil (beware of nut allergies if you are giving these bath salt cakes as a gift), grapeseed oil, avocado oil, and the list goes on.
Essential Oils
This recipe calls for 20-40 drops of essential oil. That’s probably considered a little high compared to the amount of carrier oil used. The reason for this is that you will lose a fair amount of essential oil to evaporation when your bath salt cakes are left to dry.
Which essential oils should you use? Well I normally leave that up to you because everyone has their own favourite essential oil blends.
If you’re looking for suggestions then my tip is to find a diffuser blend you like and then scale up the number of drops of essential oils to fit this recipe.
You can find hundreds of diffuser blends for inspiration here and Christmas-themed diffuser blends here.
**SAFETY FIRST**
Being Christmas, peppermint essential oil may seem like an obvious choice but it is not always suitable for a bath (it can give your private parts a bit of a tingle if you know what I mean), and I would definitely avoid it if you are giving these bath salt cakes as a gift.
Cinnamon, Cassia and Clove essential oils are very popular Christmas scents but are unsuitable for the bath as they are prone to causing considerable skin sensitivity when used topically. I suggest that you stick with the more calming Fir, Floral or Fruity essential oils when choosing a festive scent for your bath salt cakes.
Water
To increase the storage longevity of your essential oil project, do not use water from the tap in the recipe. This can lead to mould growth. Instead I recommend distilled, demineralised, or water that has been boiled and then cooled. Alternatively rose water (also available from the supermarket) is a great idea (and will add to the beautiful scent of your bath salt cakes).
Colouring
Soap colouring is preferable when colouring your rock salt because it provides a stable and consistent colouring across all colours and will not fade.
However food colouring will also work perfectly well to colour your rock salts. Just don’t leave them sitting out in the open for long periods (I’m talking months) as the colour will fade (and so will the scent for that matter).
I recommend using natural food colouring wherever and whenever you can.
Cookie Cutters
One Christmas tree-shaped cookie cutter is all you need for this project. I just happened to have three on hand so I used multiple ones just to add a little variety.
When choosing a cookie cutter, pick a shallow cutter (1/2″ – 3/4″ in height) over a deep one (1″+ in height). It can be a little tricky to lift your cutter up and away from your salt cake if the height of the cutter is an inch or taller.
Additional Items Required
Plastic Zip-Lock Bags – Keep some zip-lock bags on hand for easy colouring of your rock salt.
Bowls – You will need four bowls to pour your rock salt into once coloured so it can dry.
Mixing Bowl and Spoon – You will require a mixing bowl and spoon to make this recipe. To be on the safe side, I recommend you use a non-plastic bowl and spoon for this activity as essential oils can quickly corrode some plastics. A glass, ceramic or stainless steel bowl and a metal spoon is the way to go.
Tray Lined With Parchment Paper – These bath salt cakes need to stand for 24+ hours to dry. You cannot touch them during this time as they are fragile when wet. Also some of the water and oil may leak out during the drying process. A baking tray or serving tray lined with parchment paper is the perfect solution as you can then pick them up and move them to a safe place to dry. The parchment paper will protect your tray from oil and water and also allows for easy clean-up once your project is finished.
Toothpick or Skewer – A toothpick or skewer will be handy to help position your coloured rock salt inside your cookie cutters.
Printable Christmas Tree Bath Salt Cakes Recipe
Want yours to look like mine?
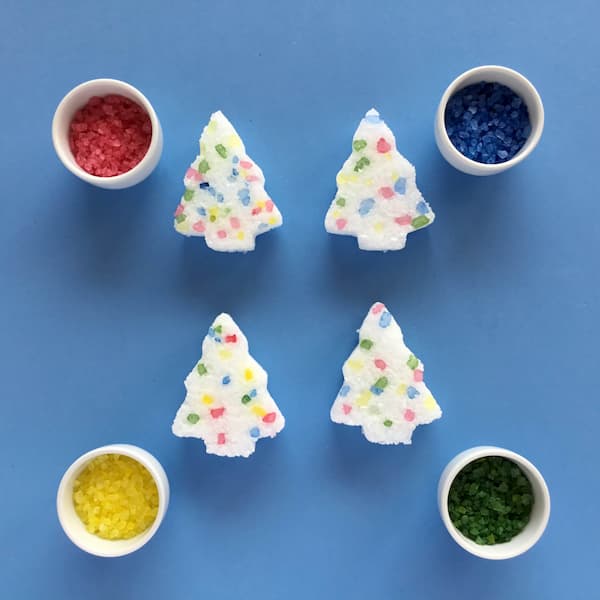
I used three different Christmas tree cookie cutters with red, green, yellow and blue coloured rock salt for my ‘baubles’. Here’s my recipe.
Christmas Tree Bath Salt Cakes
Equipment
- Plastic Zip Lock Bags
- Ceramic bowls
- Glass, Ceramic or Metal Mixing Bowl and Spoon
- Tray lined with Parchment Paper
- Toothpick or Skewer
Ingredients
- 4 Tbsp Rock Salt
- Colouring Red, Blue, Yellow & Green
- 1 Cup Epsom Salt
- 2 Tbsp Baking (Bi-Carb) Soda Sifted
- 2 Tsp Carrier Oil
- 20-30 Drops Essential Oils
- 2 Tsp Water
- 1 Christmas Tree Cookie Cutter
Instructions
Colored Rock Salt
- Fill four (4) plastic zip-lock bags with a tablespoon each of rock salt. Add a different colour of food colouring/soap colouring to each bag, zip shut, and shake until salt is evenly coloured. Pour salt out into separate bowls and leave to dry (overnight is preferable).
Salt Cakes
- Place a cookie cutter in the top left of your paper-lined tray and fill it with 4-5 pieces of each colour of rock salt (I like to pick out the biggest pieces). Use a toothpick or skewer to arrange the rock salt pieces into your desired positions.
- Add Epsom salts and sifted baking soda into a non-plastic bowl and mix well. Add carrier oil, essential oils, water, and then stir until fully incorporated. Your mixture should be damp but not so soggy that the salt starts to dissolve.
- Spoon your salt mixture into your cookie cutter and use your fingers to push it down firmly on top of the rock salt pieces. Keep filling your cookie cutter until you can pack it down level with the rim of the cookie cutter.
- Slowly and carefully lift the cookie cutter to reveal a formed salt cake. If you shape starts to sag or melt it means your mixture is too moist. You can add more Epsom salt to the mixture to counteract this.
- Repeat steps 1-4 until all of your Epsom salt mixture is gone.
- Set your salt cakes aside to dry overnight, then flip them over to dry for another 12 hours.
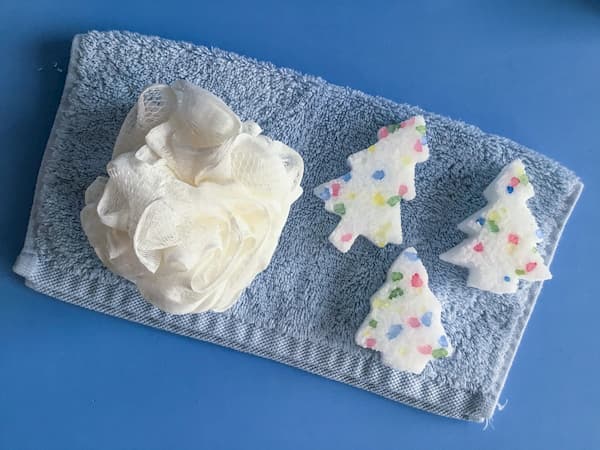
Directions for Use
- To use, drop 2 cakes into a bath for kids (use all cakes for an adult) or 3-4 in a bucket for a relaxing foot soak. To give as a gift, place salt cakes in a cellophane bag and tie off with a pretty ribbon.
Notes
Directions for Use
Your recipe will yield 6-8 bath salt cakes depending on the size of your cookie cutter. To give as a gift, place salt cakes in a cellophane bag and tie off with a pretty ribbon.
Drop all of your bath salt cakes into a warm bath. Once dissolved soak in your bath for half an hour or so. For children use 2 cakes for 15-20min. Use 3-4 cakes in a bucket of water for a foot soak.
Troubleshooting Tips
If your salt cake does not remove easily from your cookie cutter, your salt mixture is too dry. Add some more water and try again.
If your salt cake starts to sag or lose its shape after being removed from the cookie cutter, your salt mixture is too wet. Add some more salt and try again.
Enjoy!
